01 Background
Objective C, Storyboard, Swift, SwiftUI, and UI Toolkit https://sendbird.com/developer/tutorials/swiftui-vs-uikit
Is Objective-C still used today? 2023’s short answer… yes.
02 ios app using Storyboard and Objective-C
Creation
This project uses the Storyboard interface and is written in Objective-C.
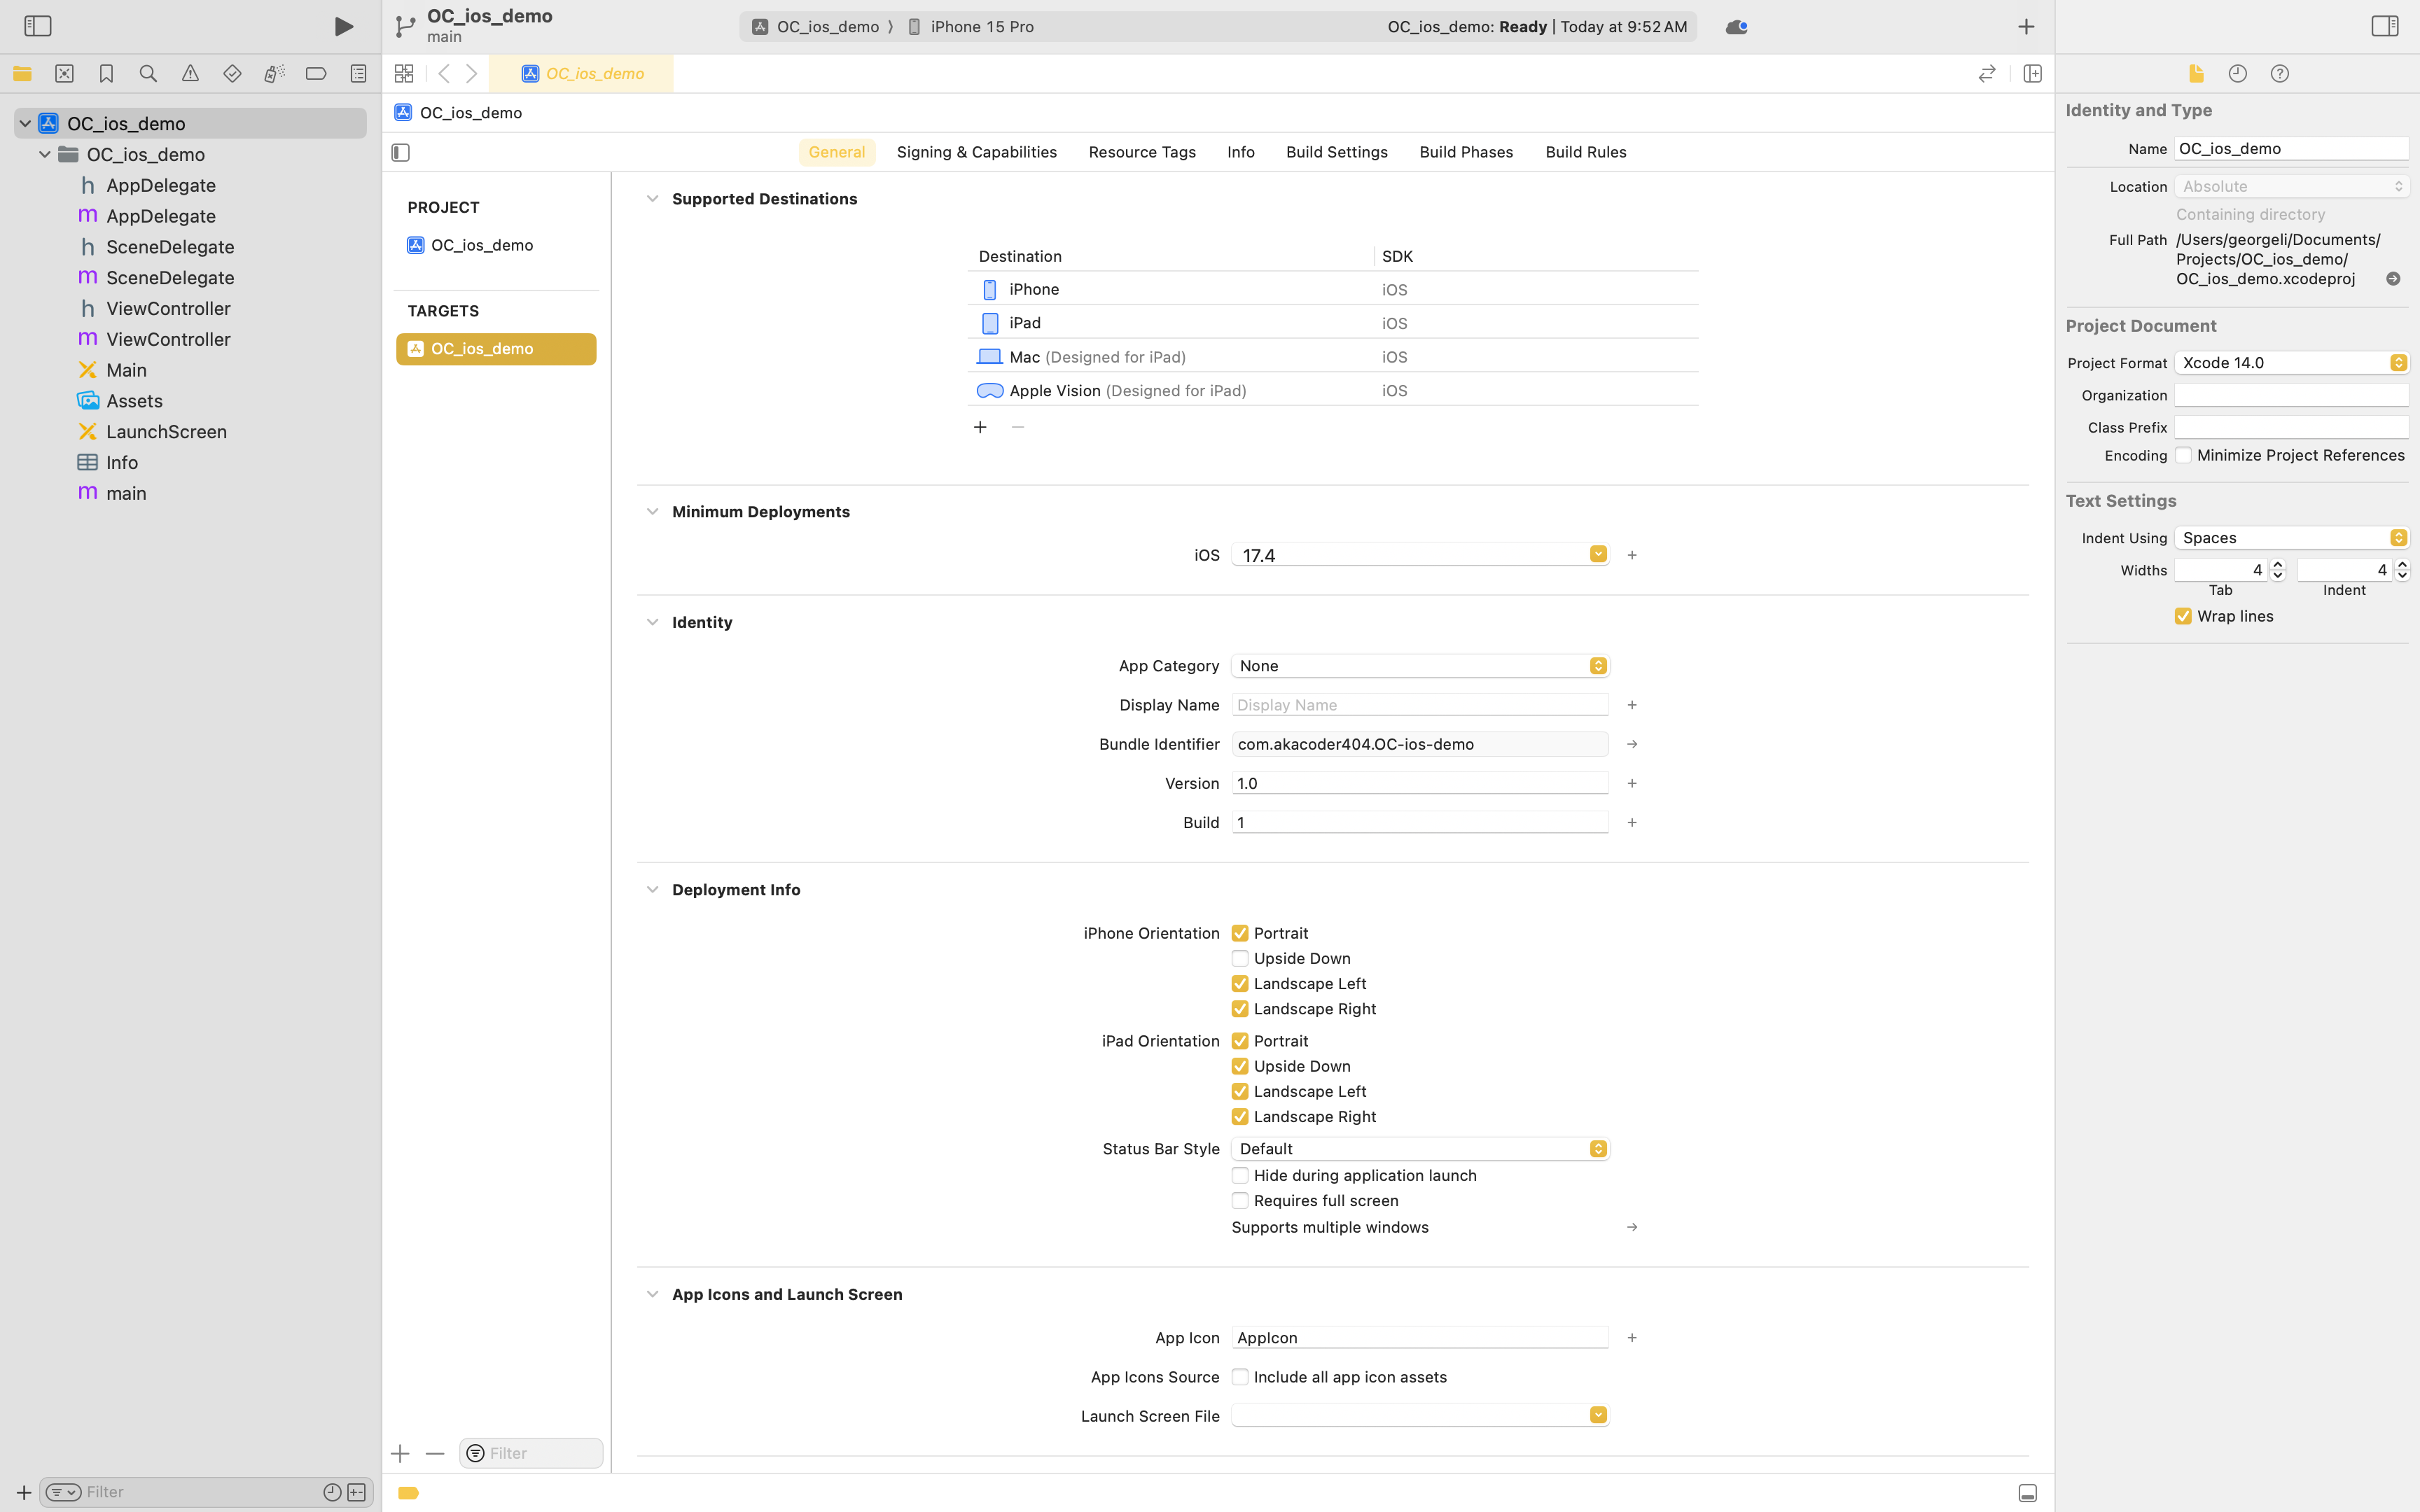
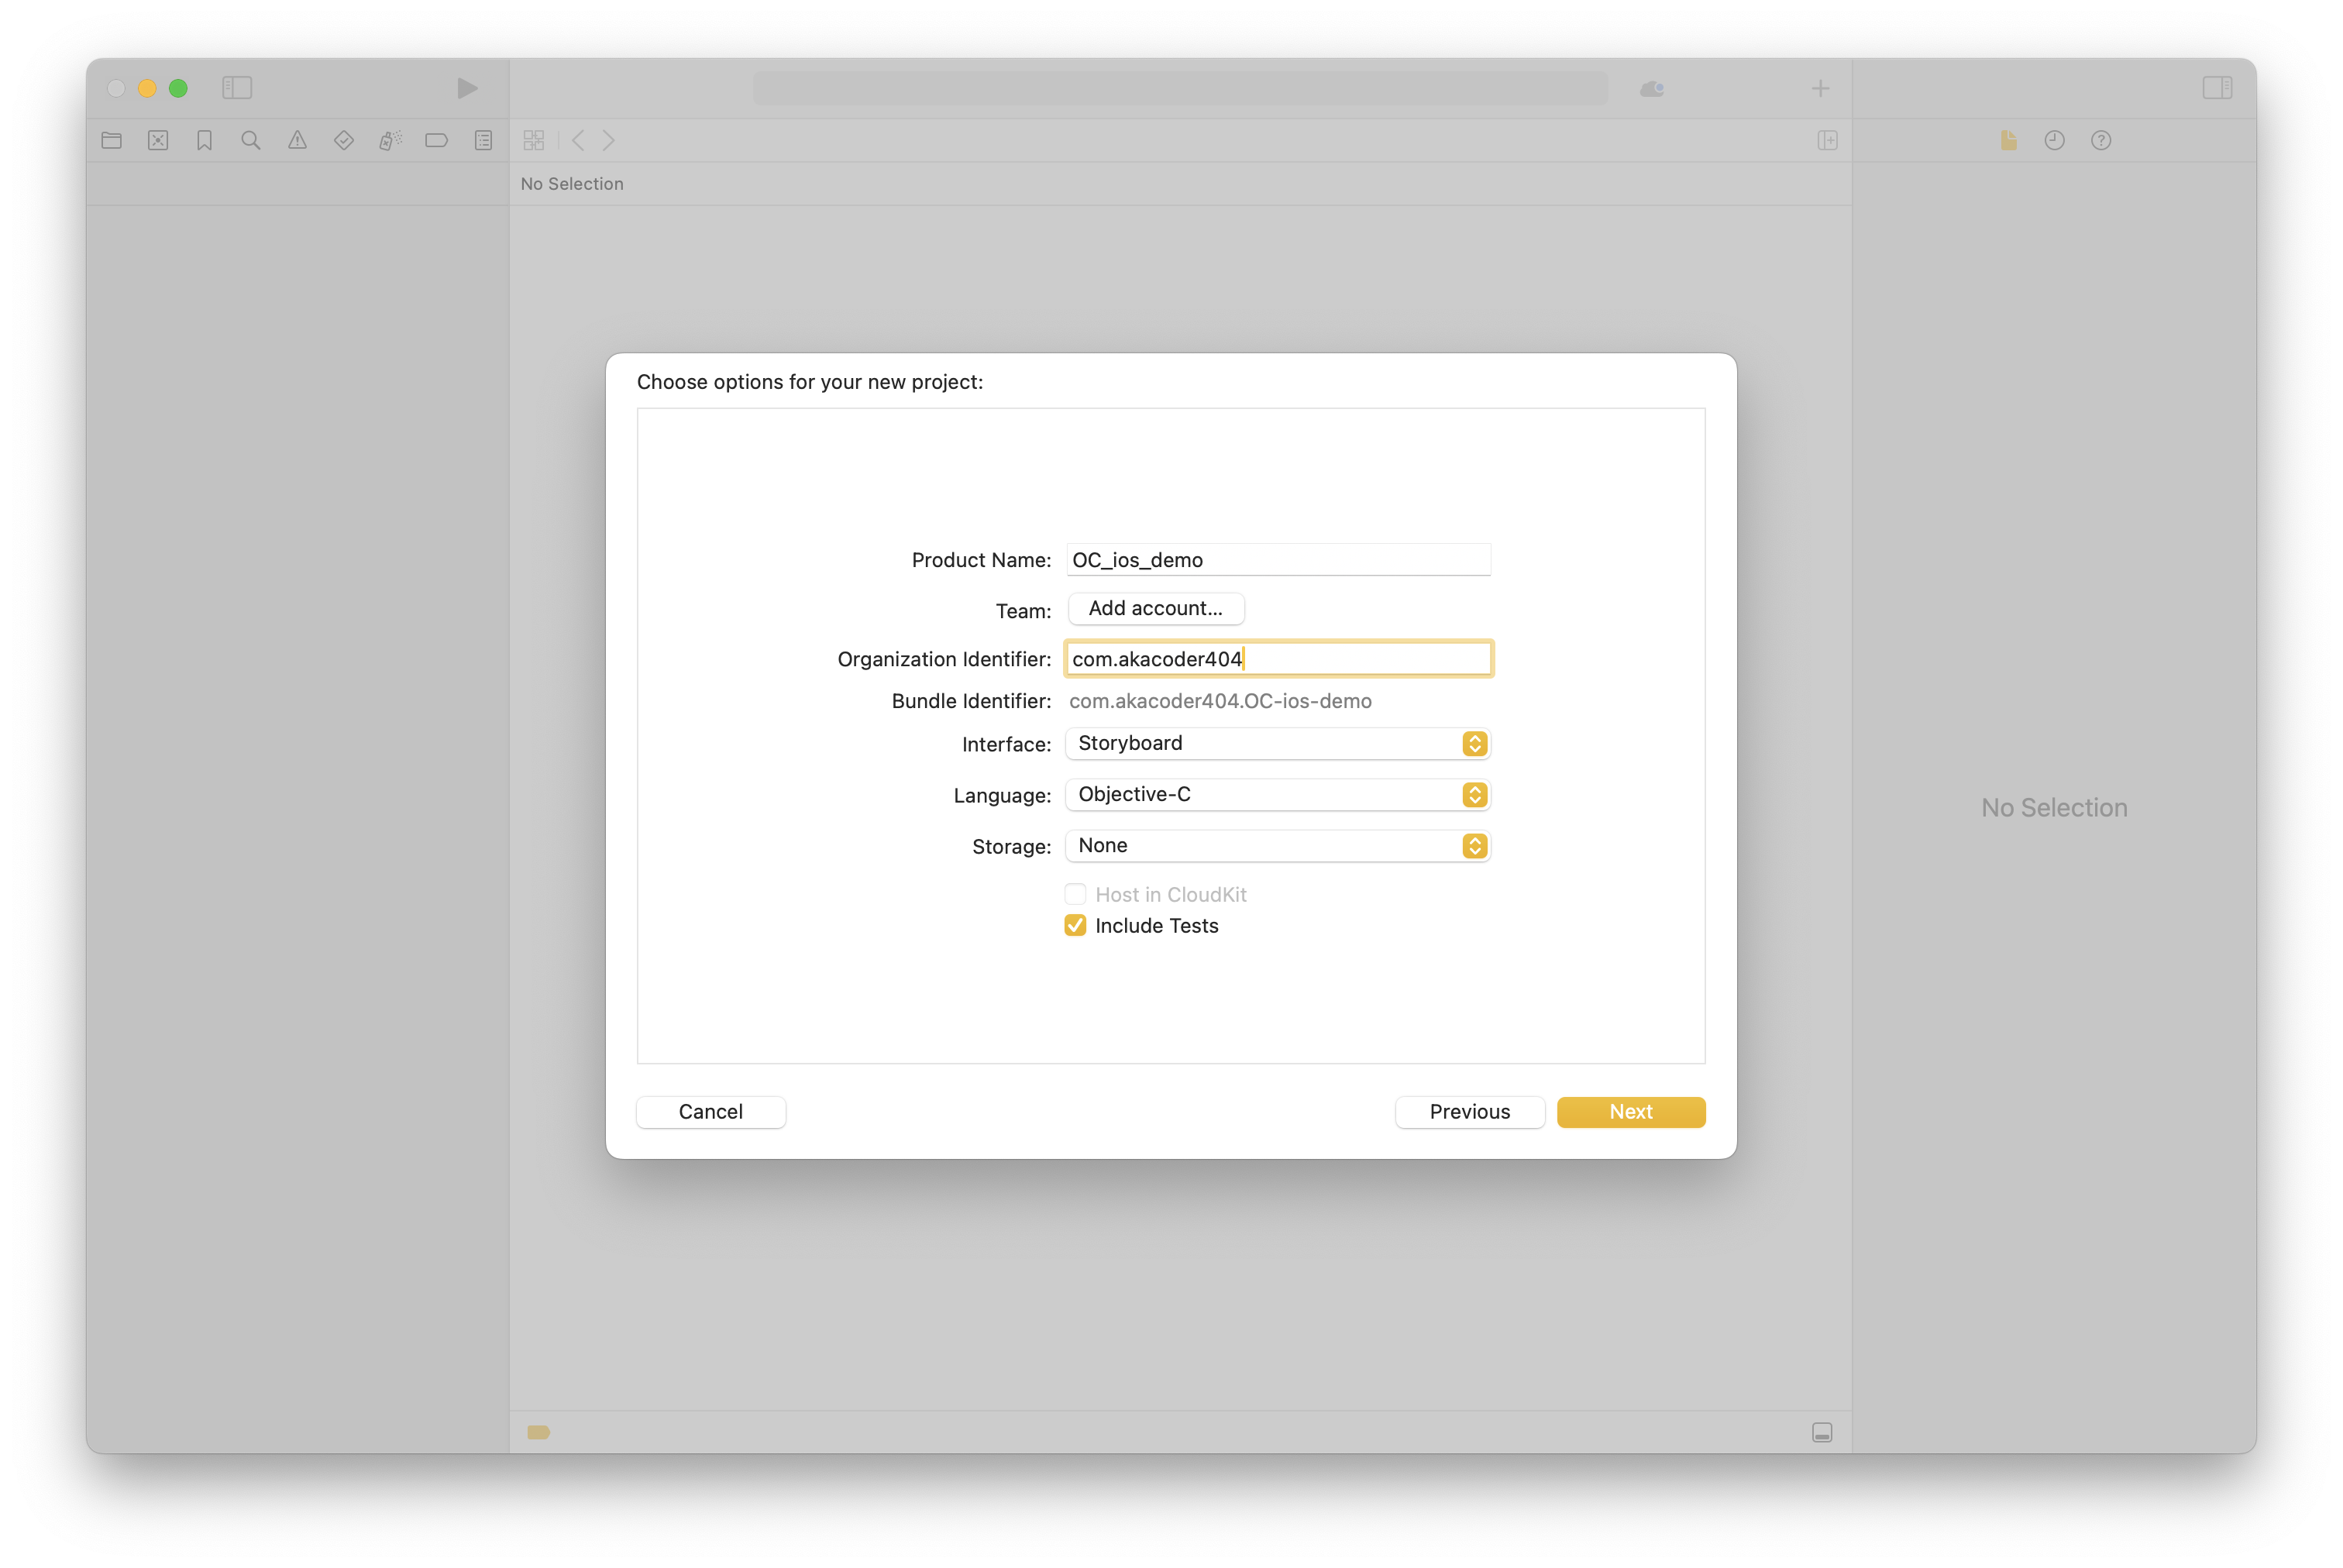 Shows that we are deploying for 17.4
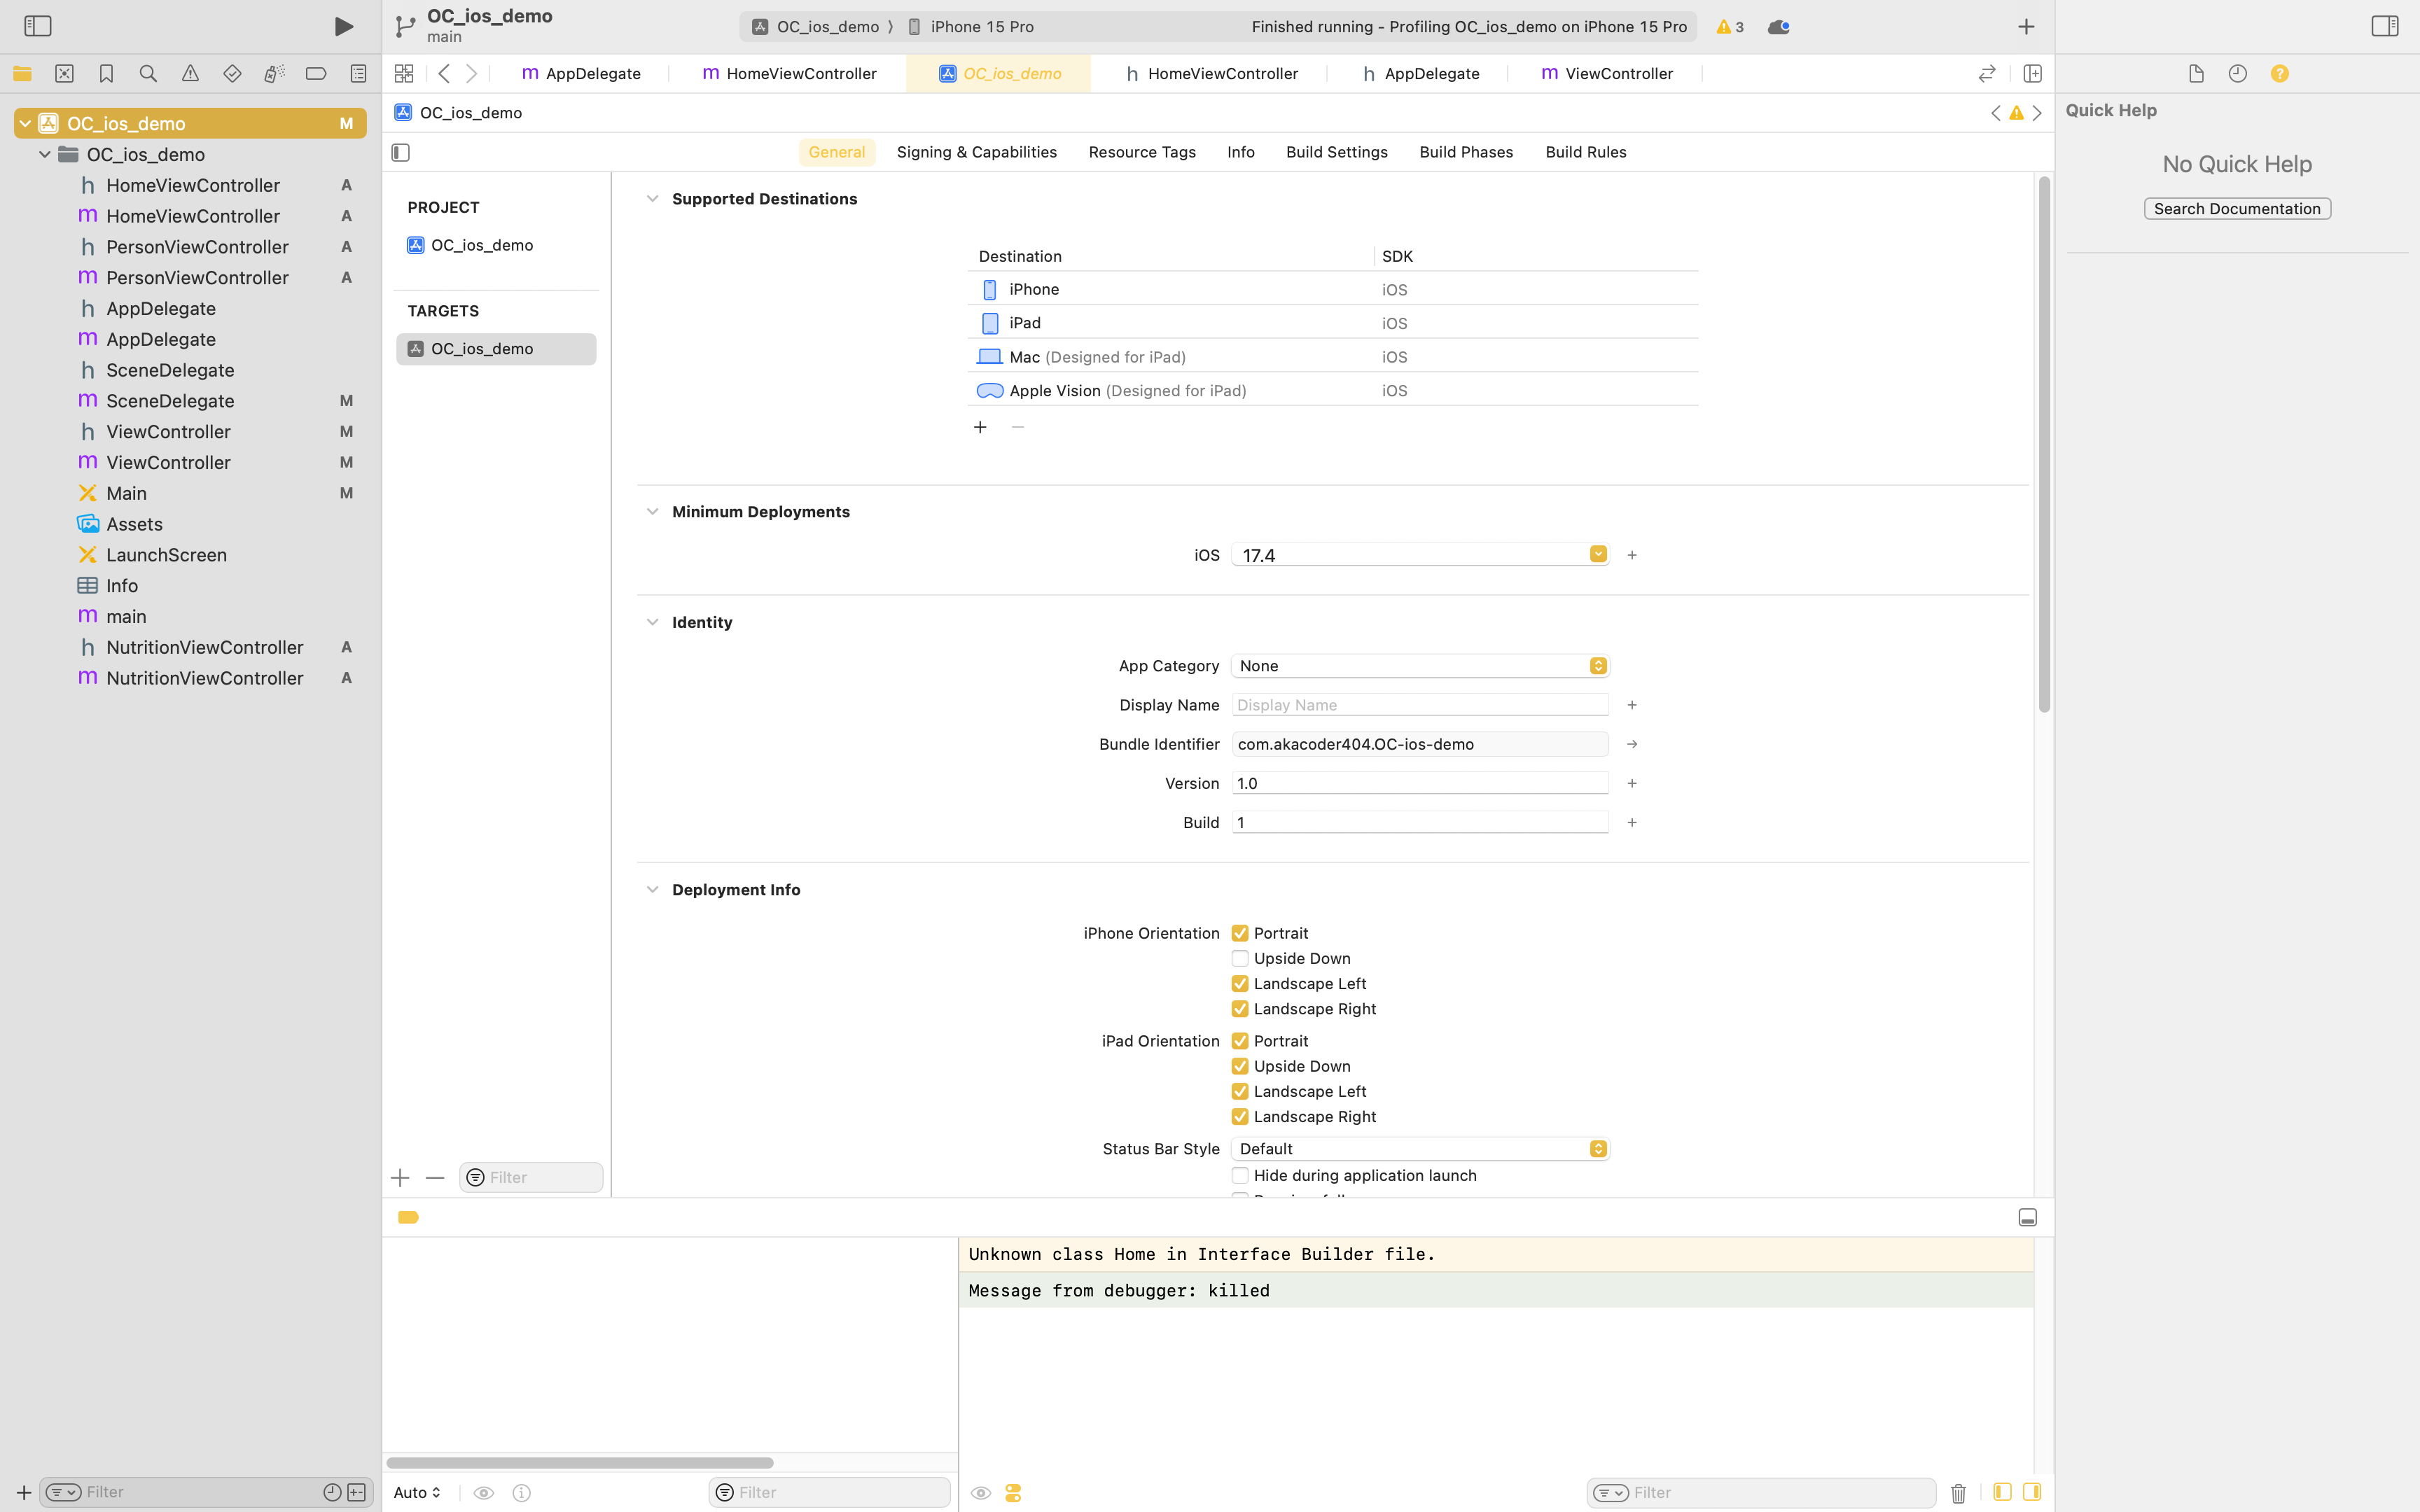
xcode layout
- navigator
- inspector
Click build (navigator play button) to build default…
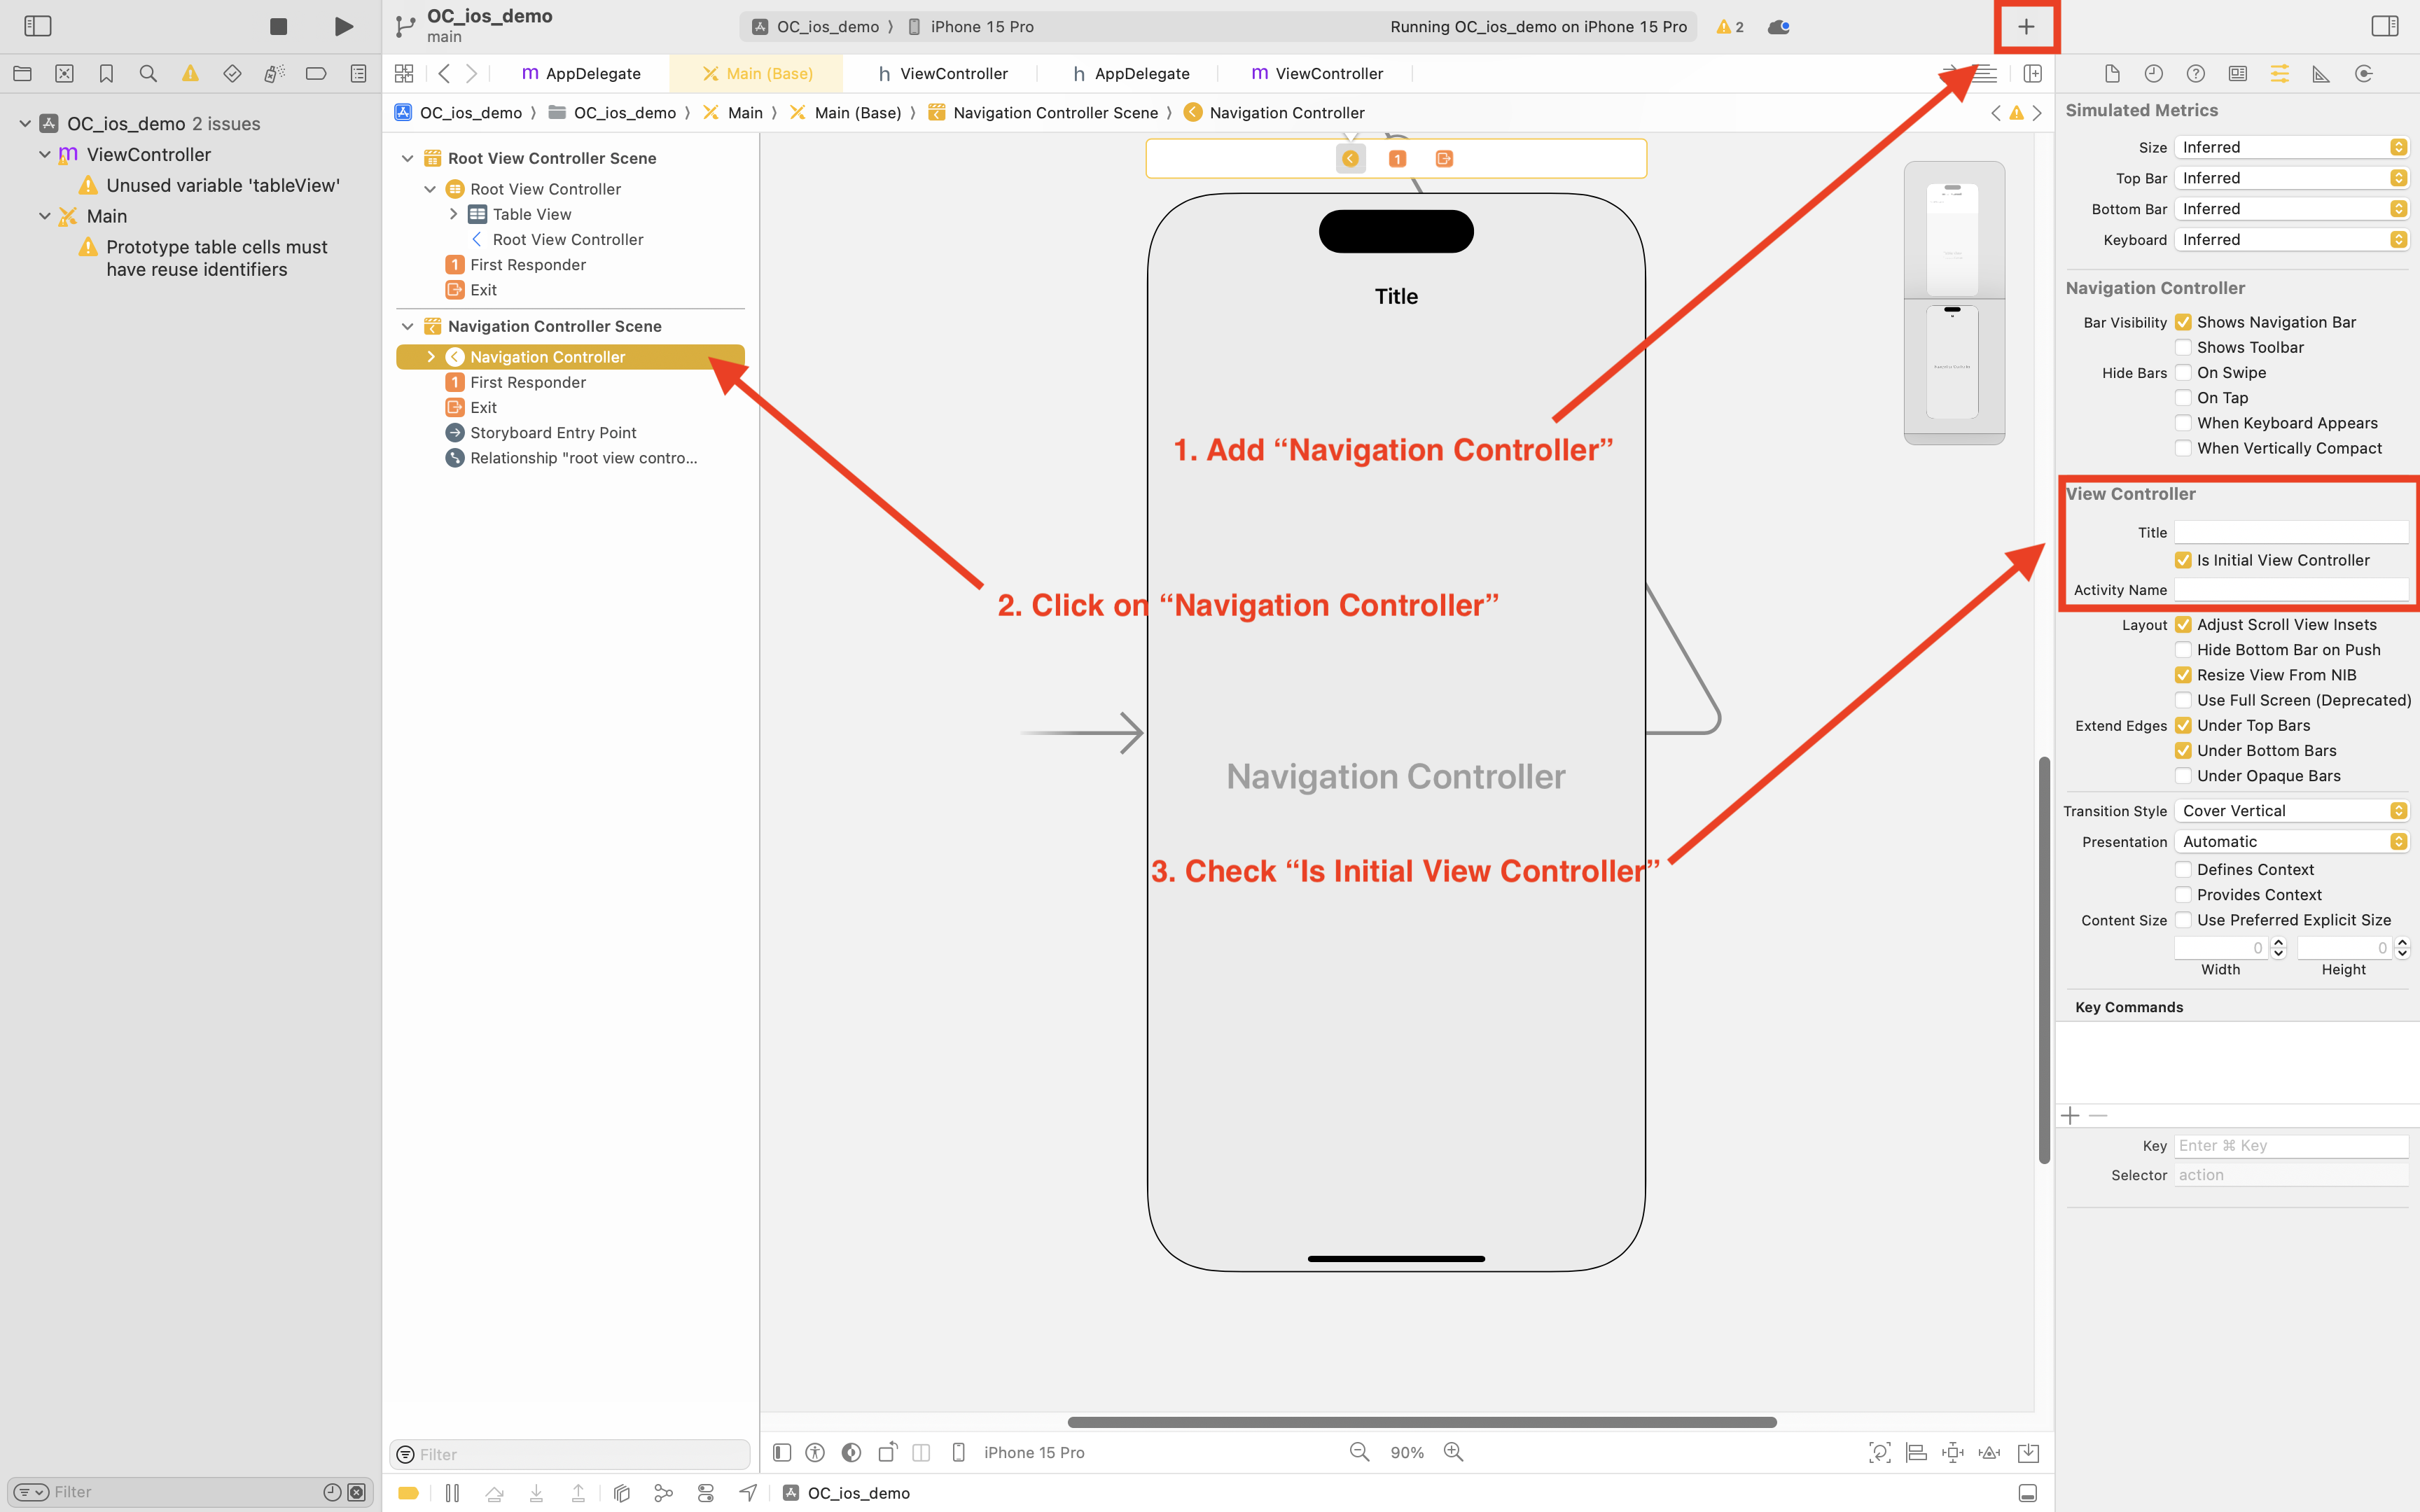
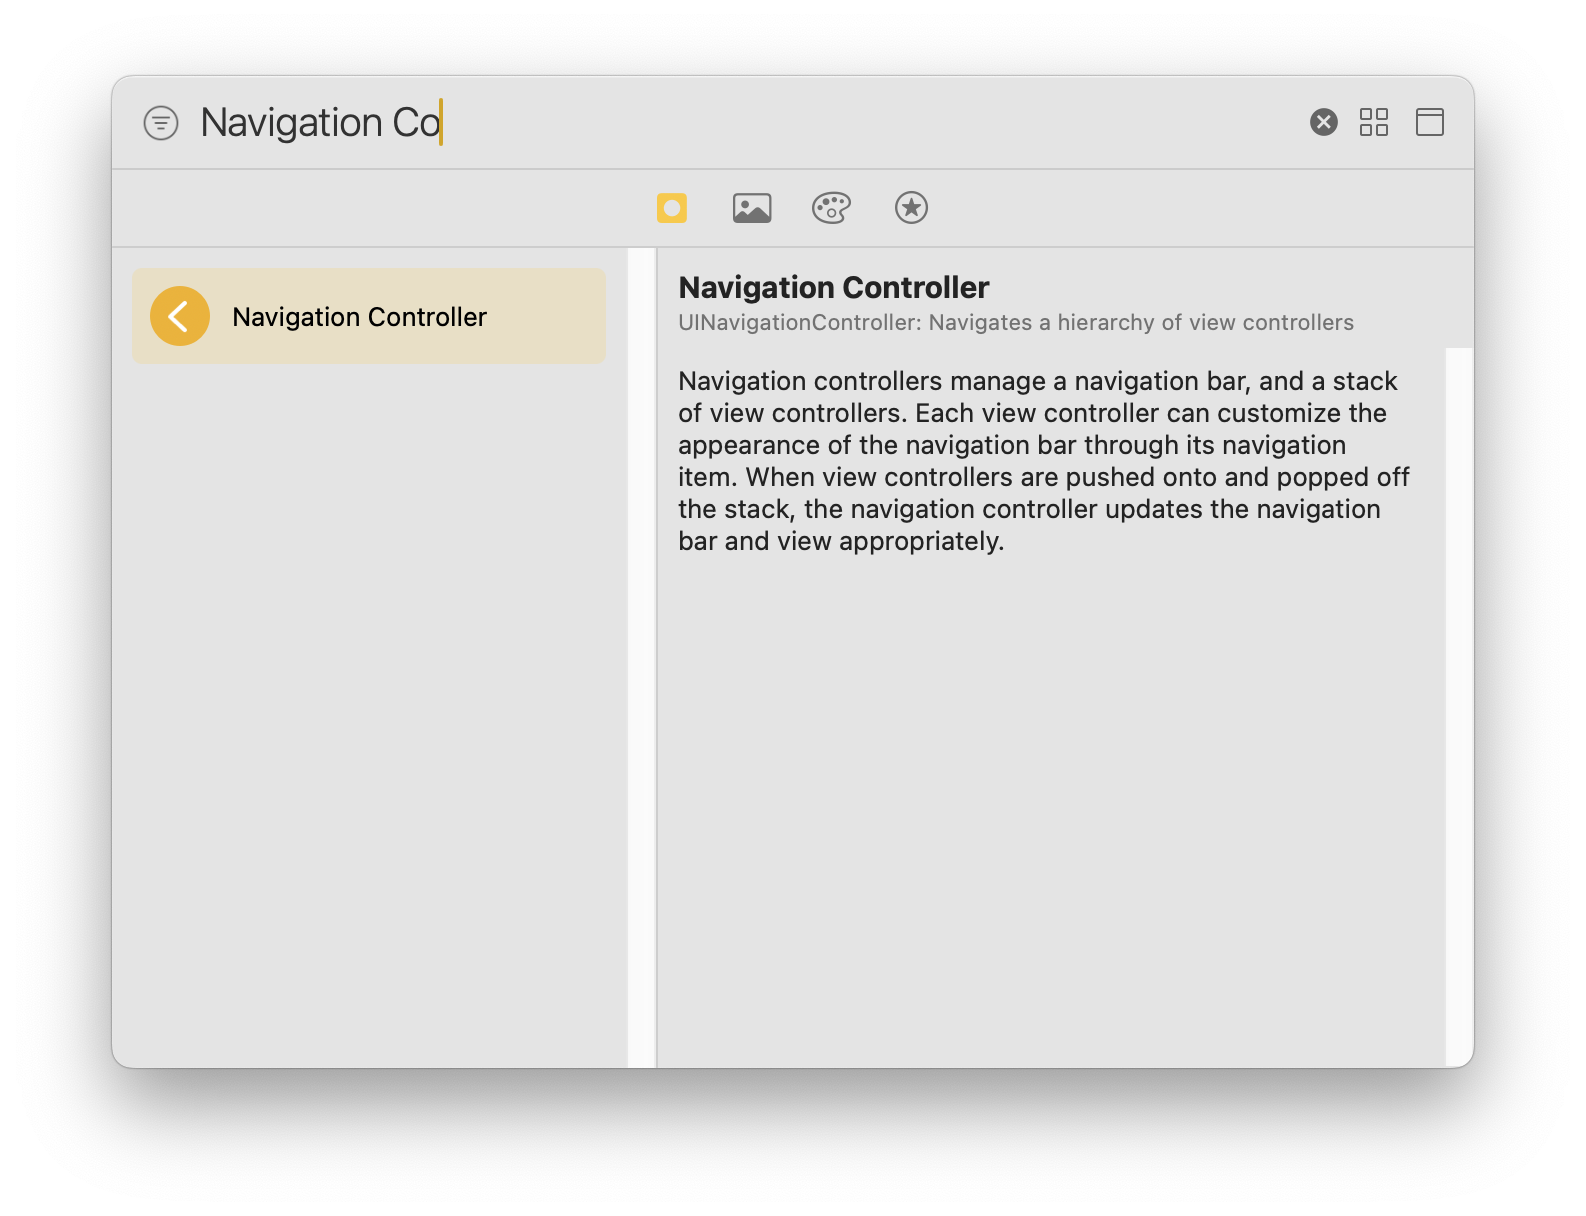
First go to Main.m, delete the default controller, add a “Navigation Controller” by pressing the add button in top right. Then set the Navigation Controller Scene’s View Controller to be the initial view.
 Then we update the first view controller that gets displayed when the app is launched. This is automatically created as “Root View Controller Scene” when “Navigation Controller Scene” is published.
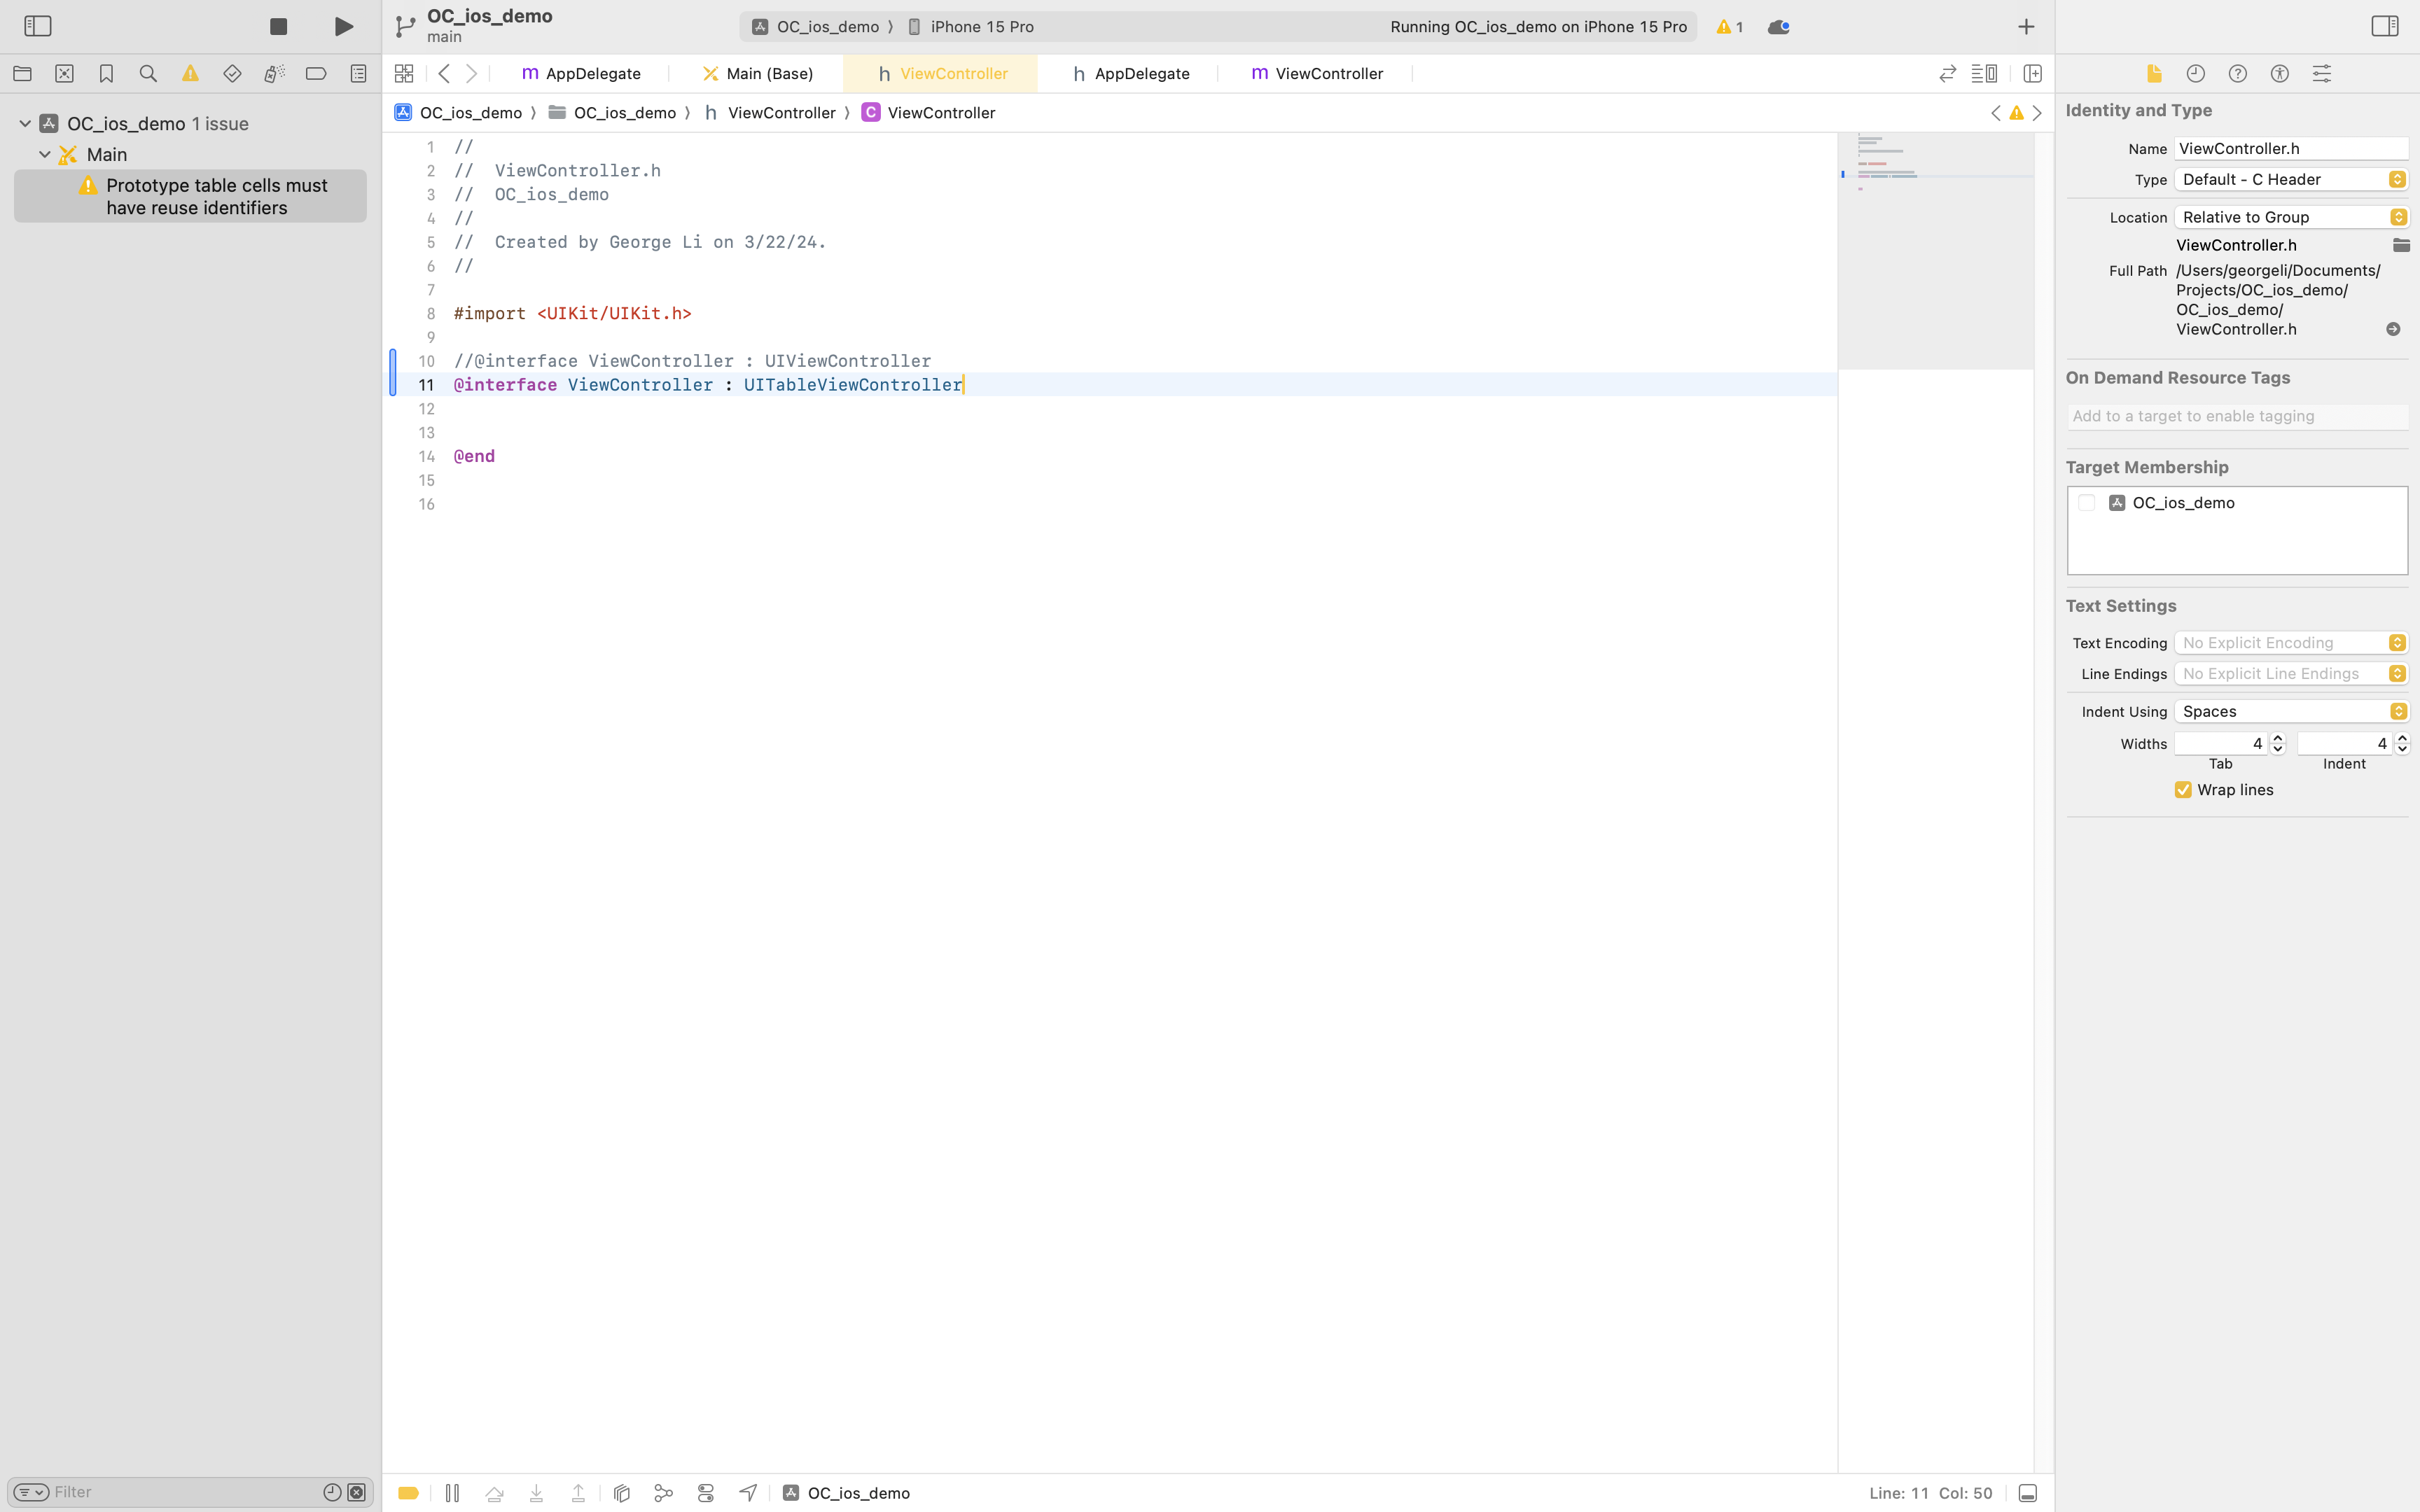
First, let’s update the root view controller to be of “UITableViewController” by redefining the class.
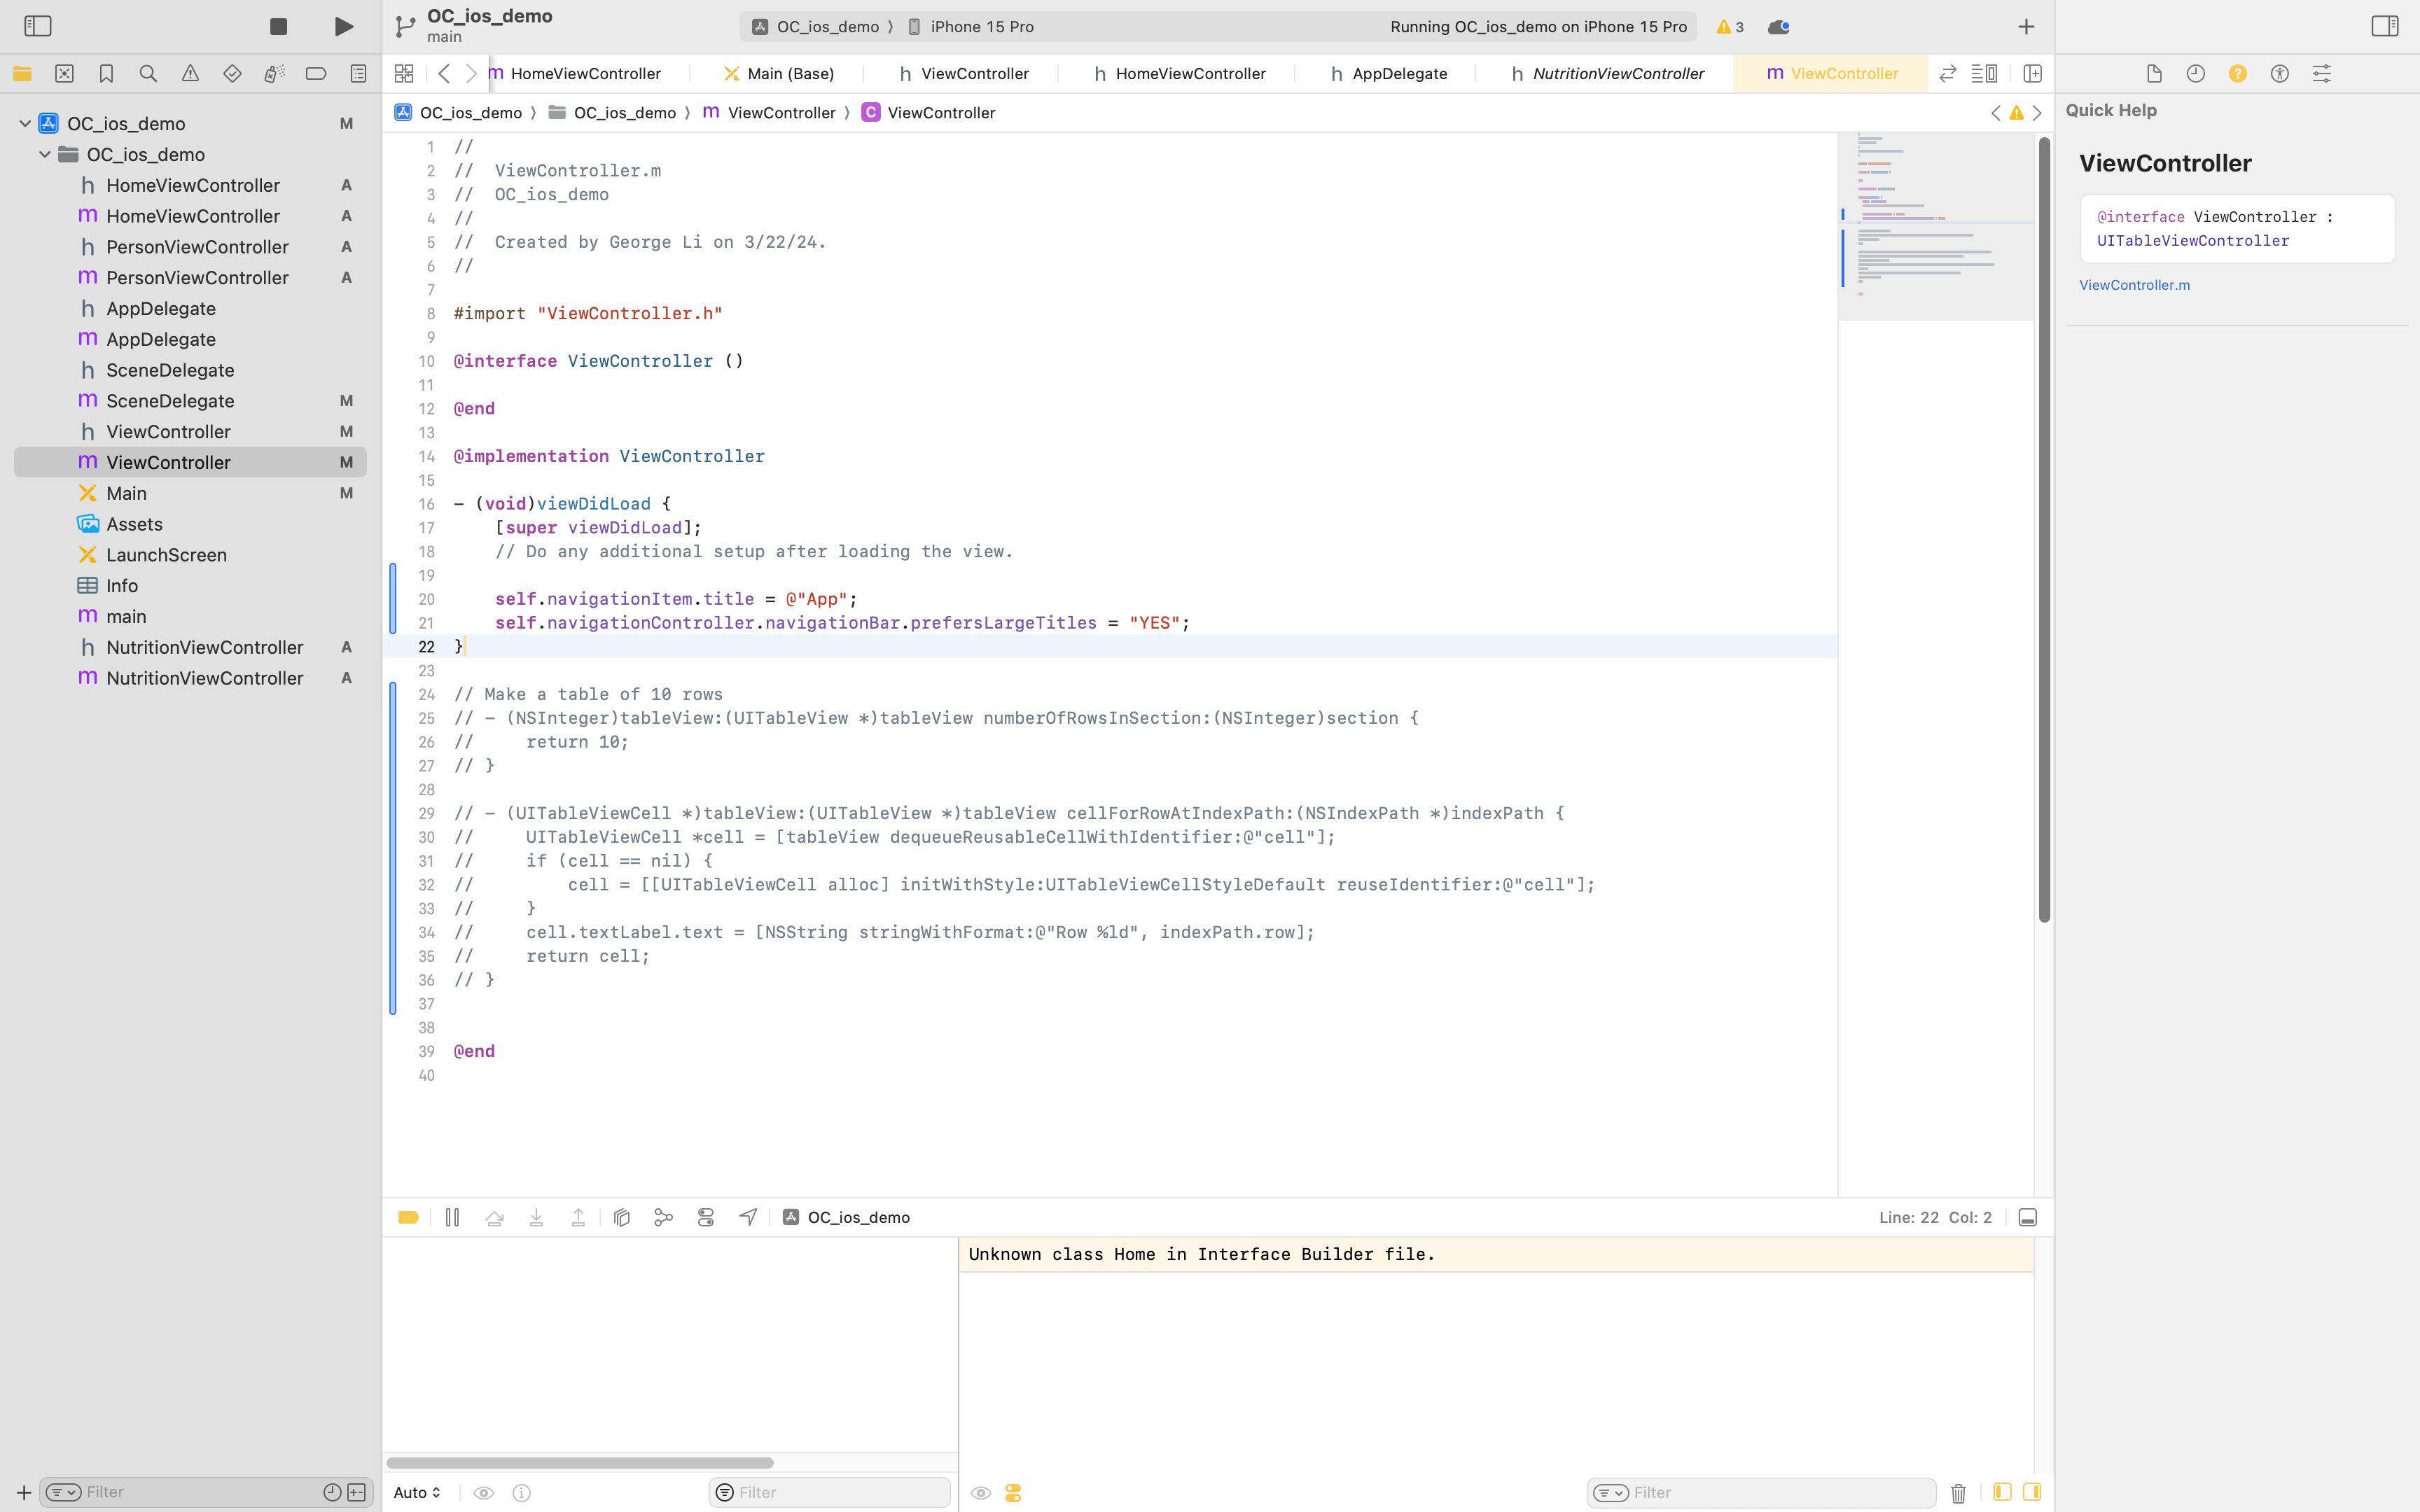
By default, the view is blank, let’s edit the view so that it displays a title called “App”
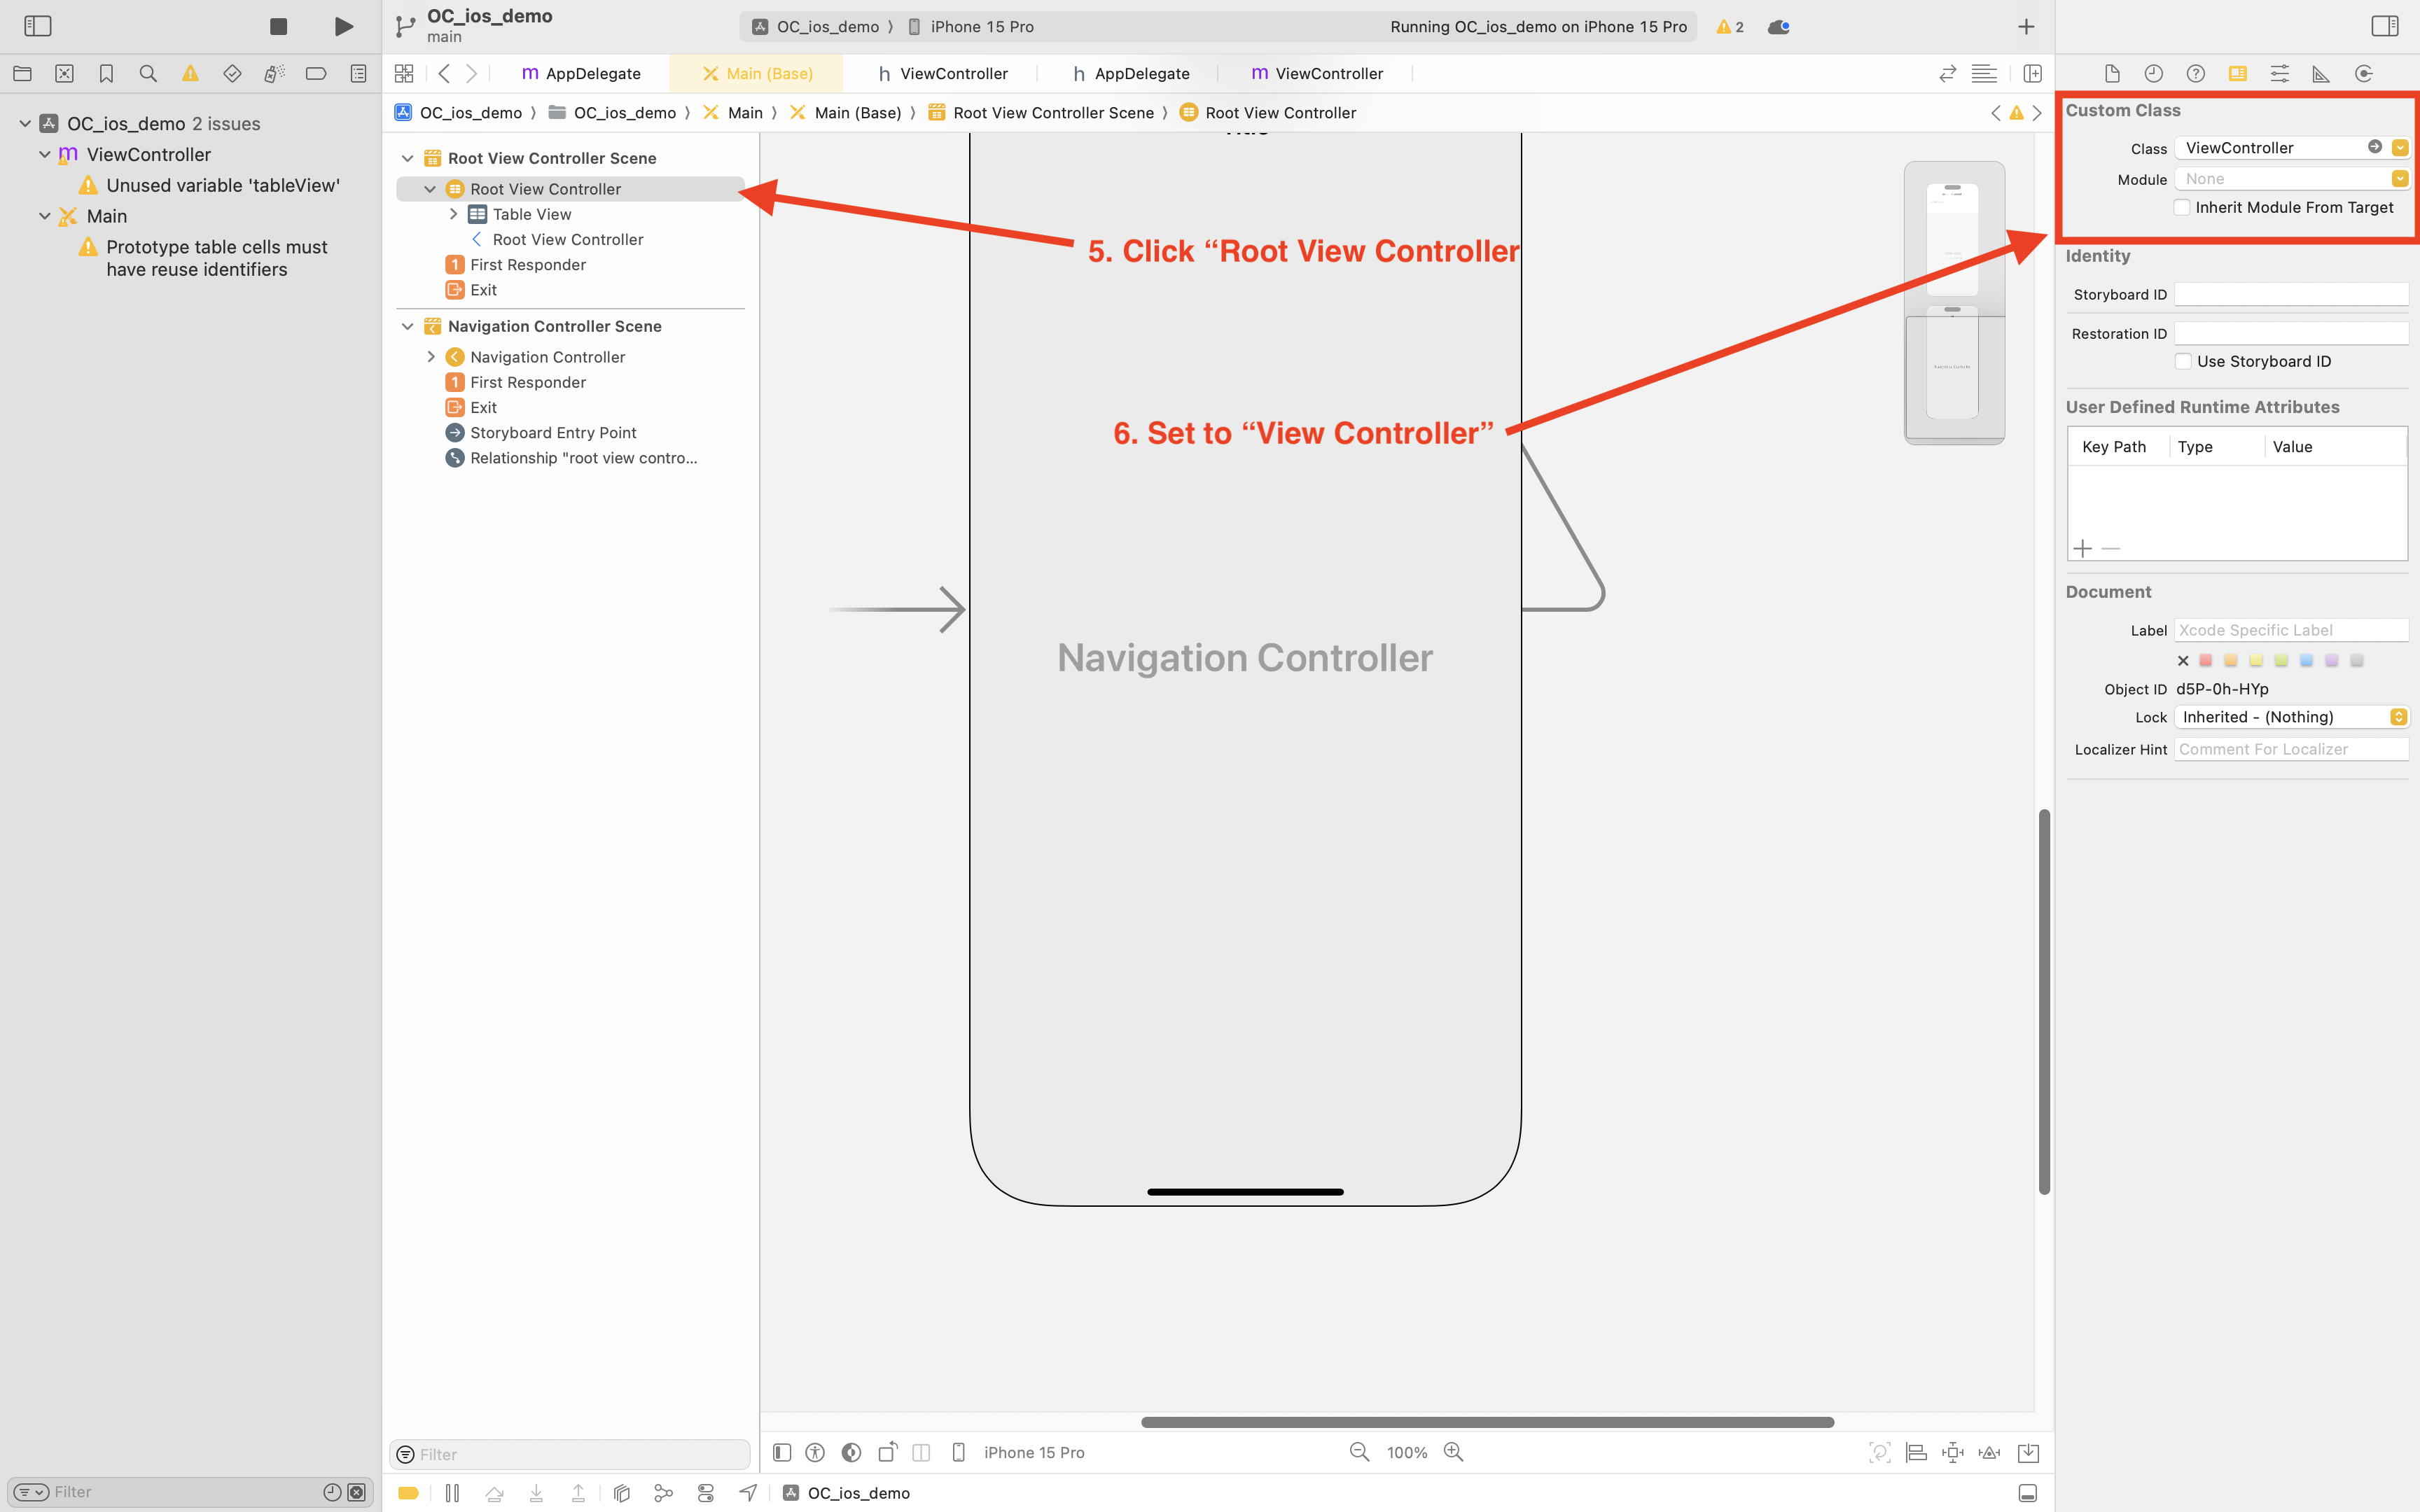
Then let’s update the storyboard interface, setting the custom class of the root view to be ViewController.
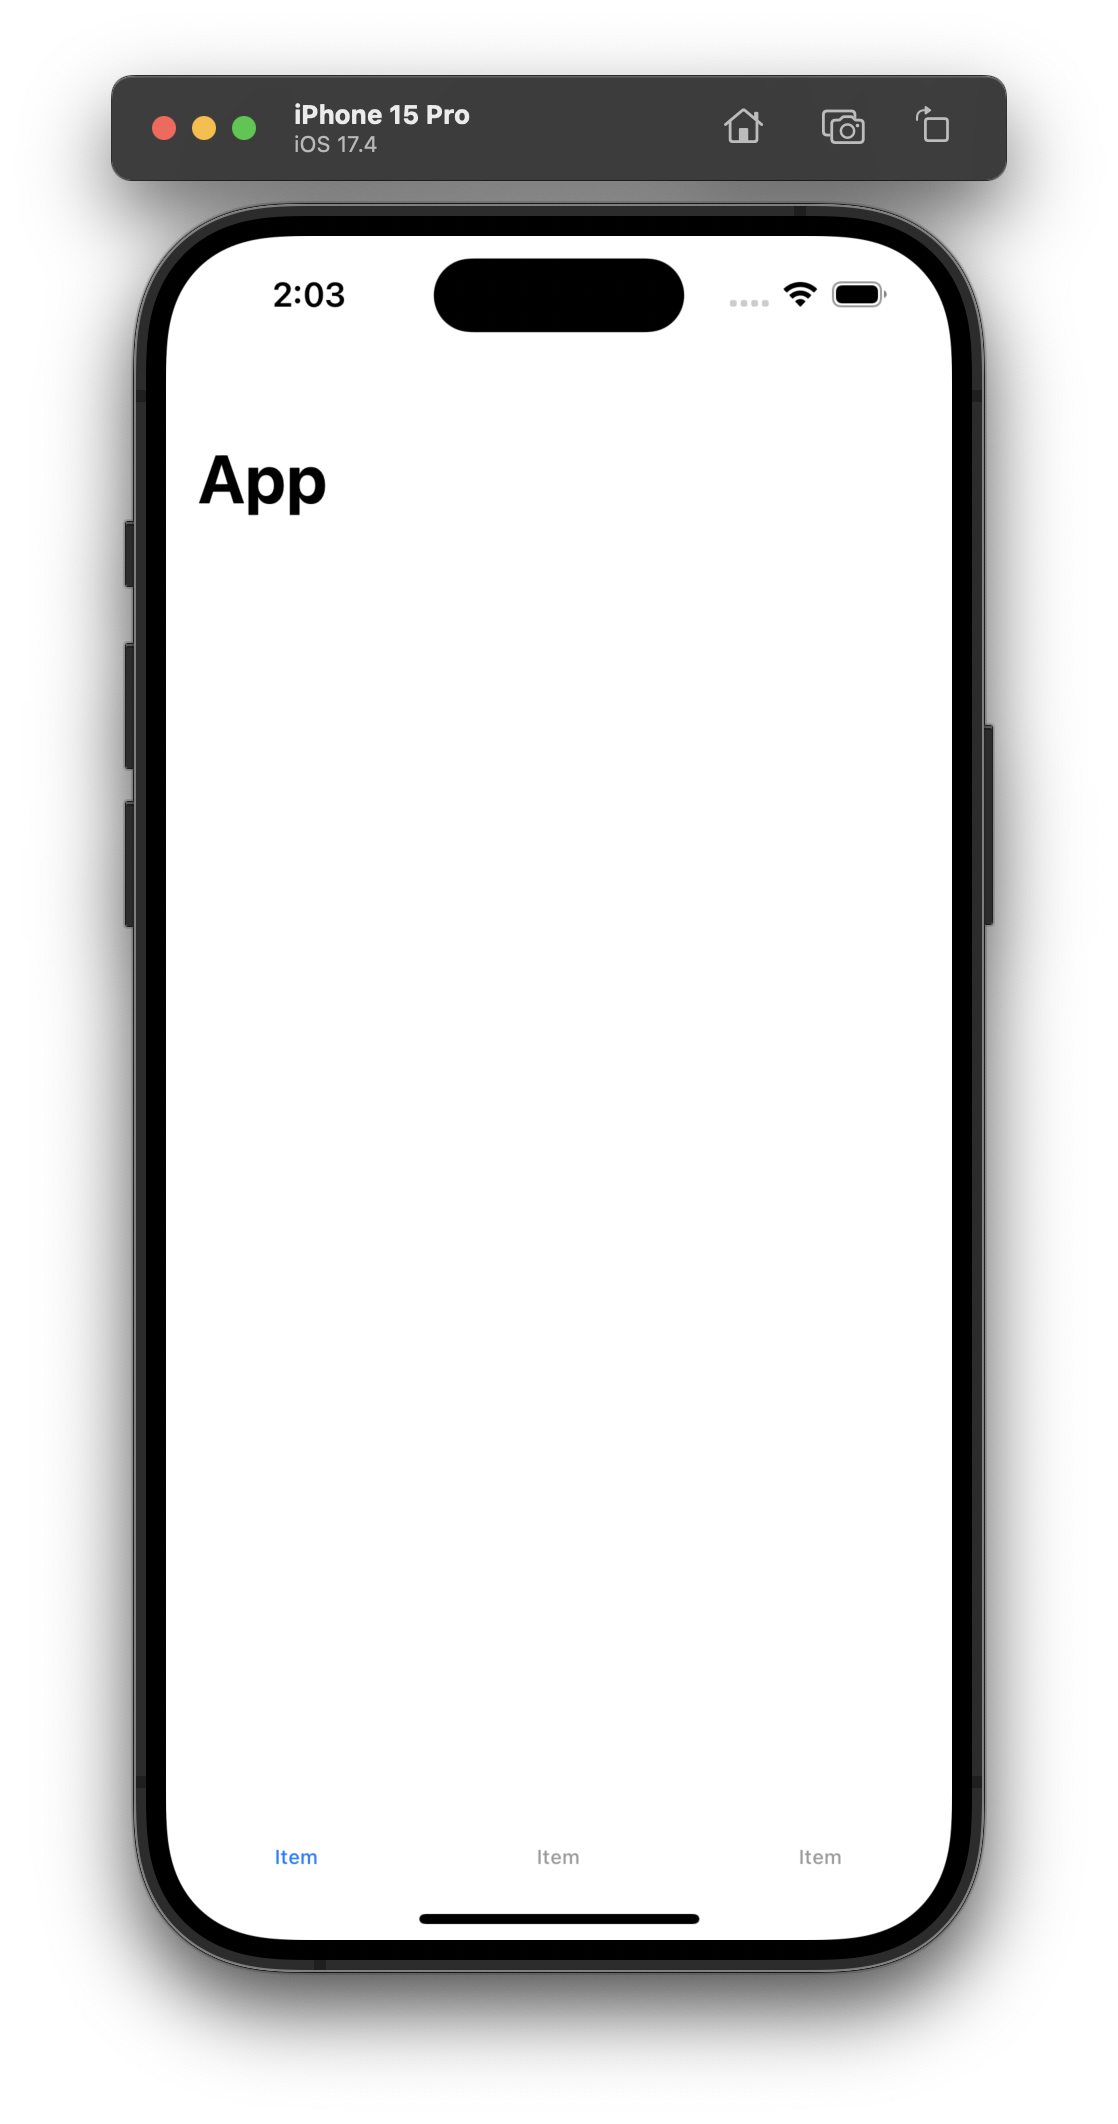
Running the app should give you the following interface.
Creating Additional Views Files
In order to create more ContainerViewController
Right click navigation + add new file… ise cocoa touch class
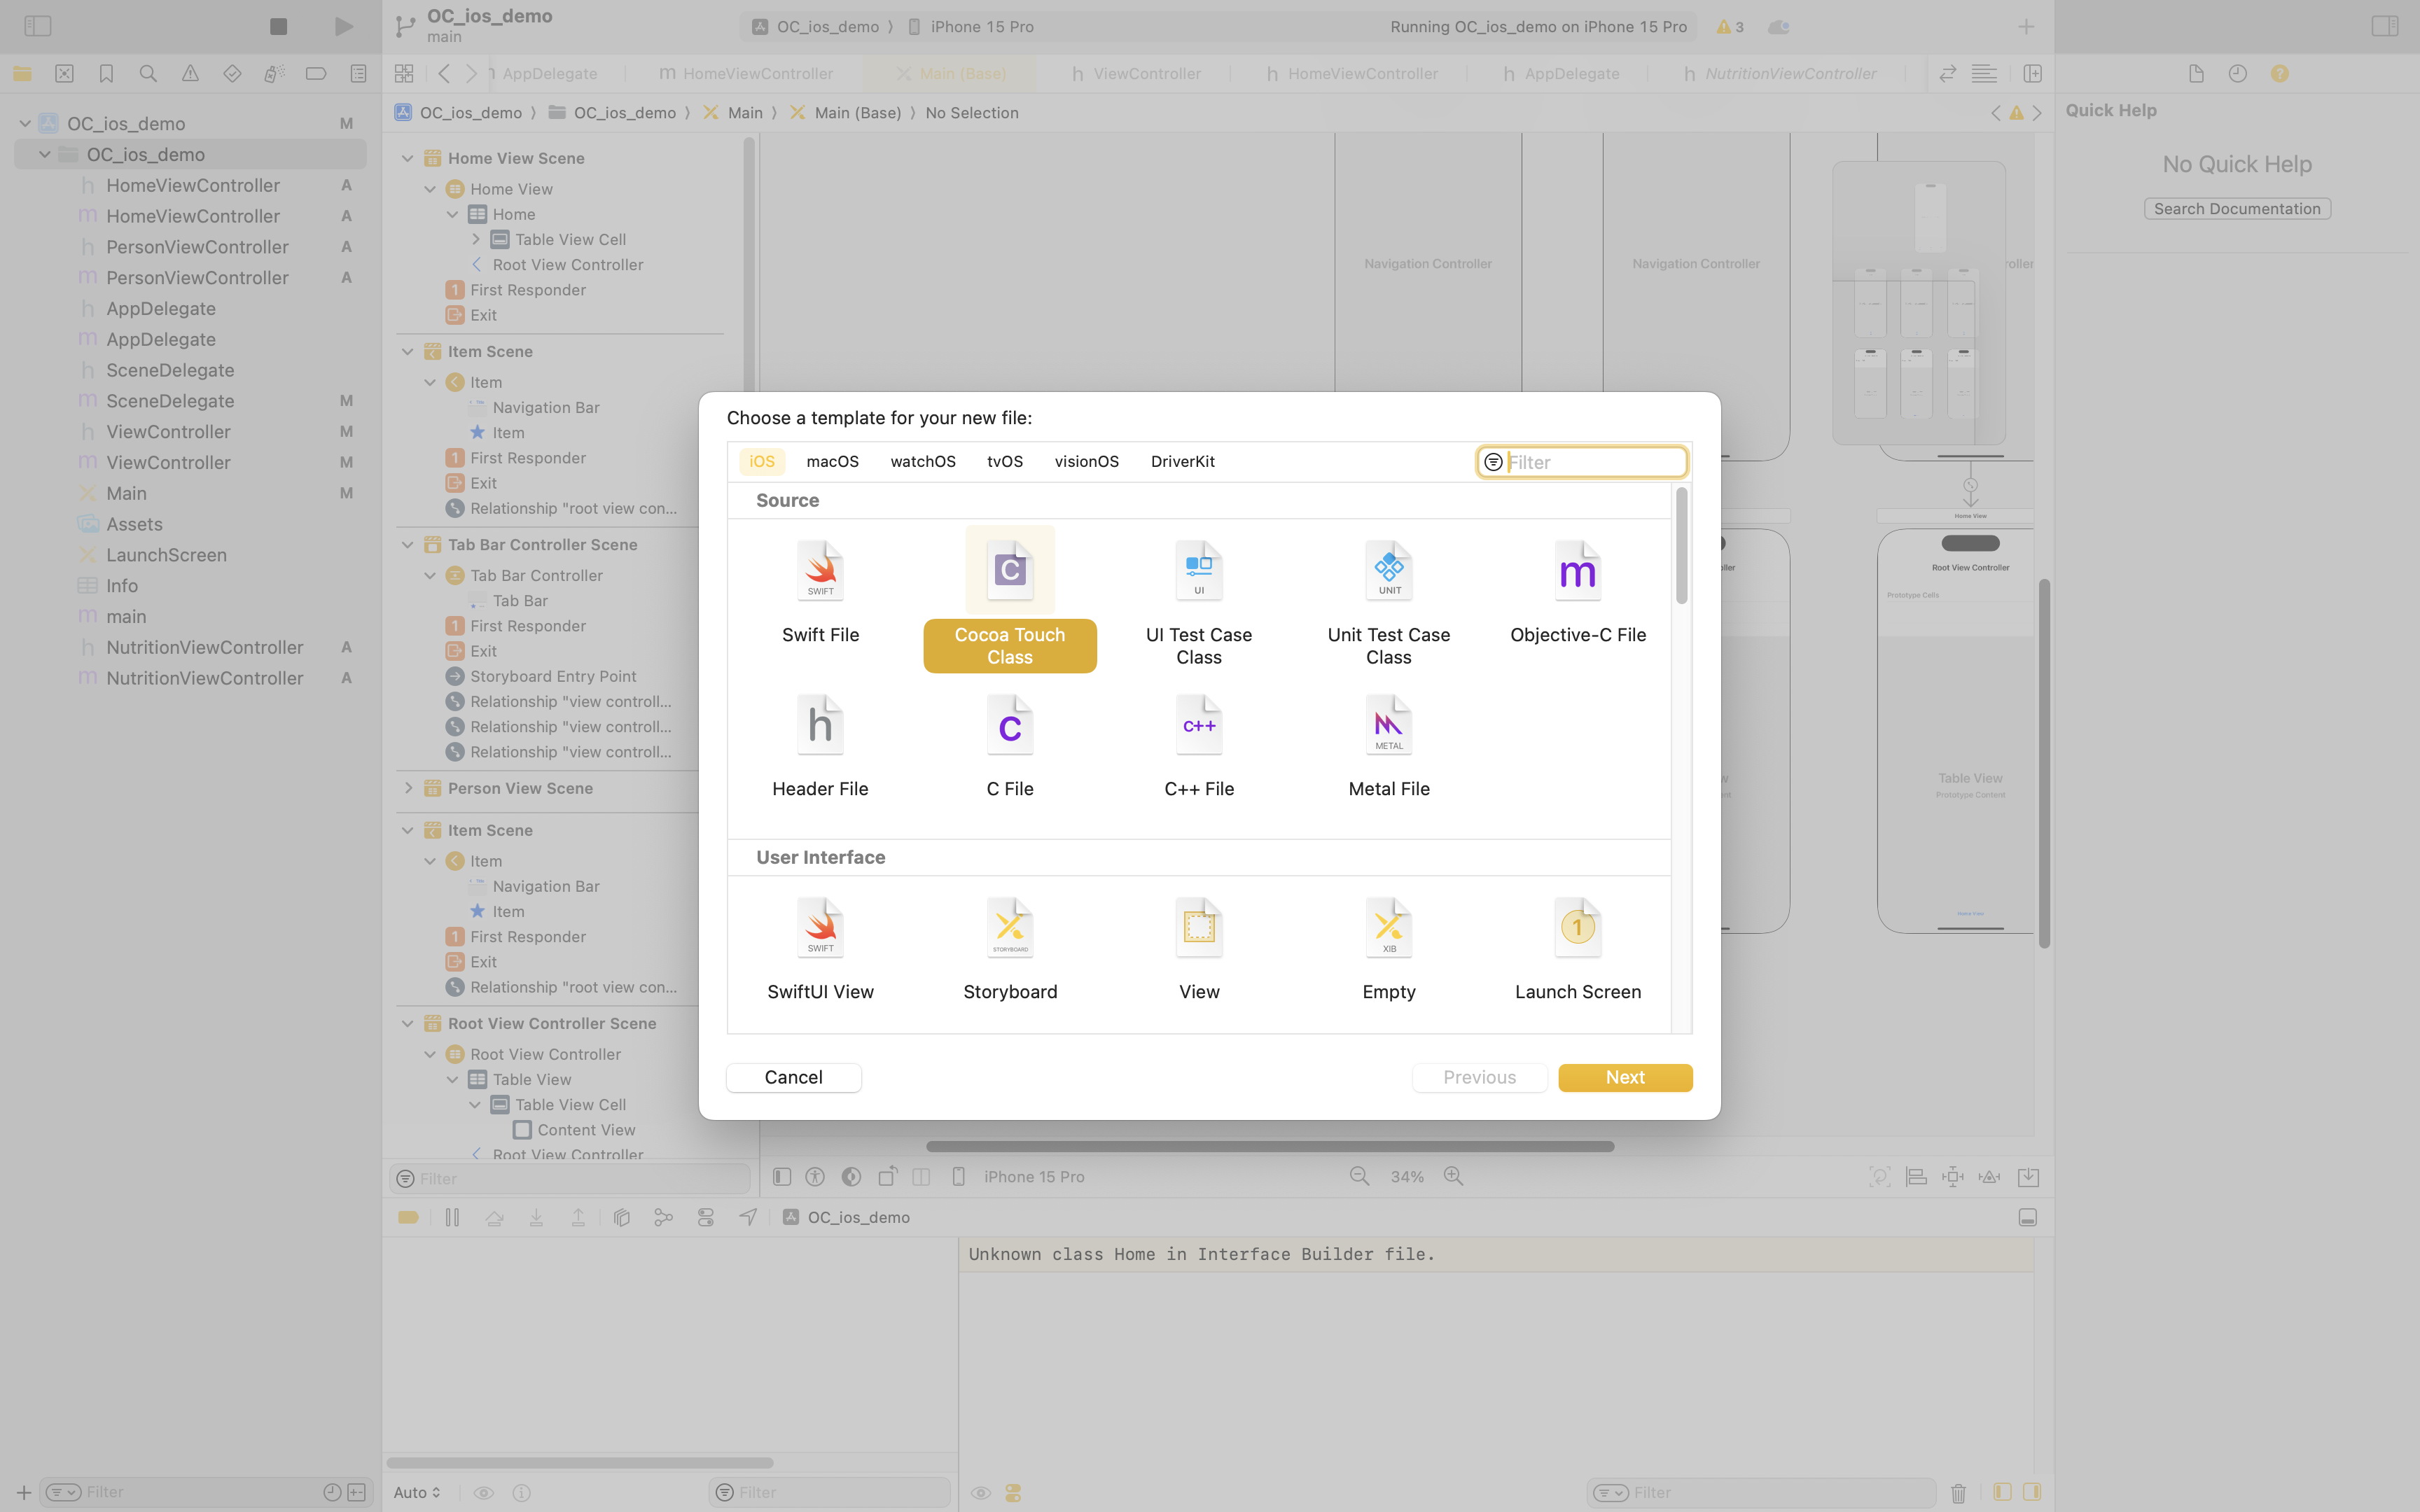
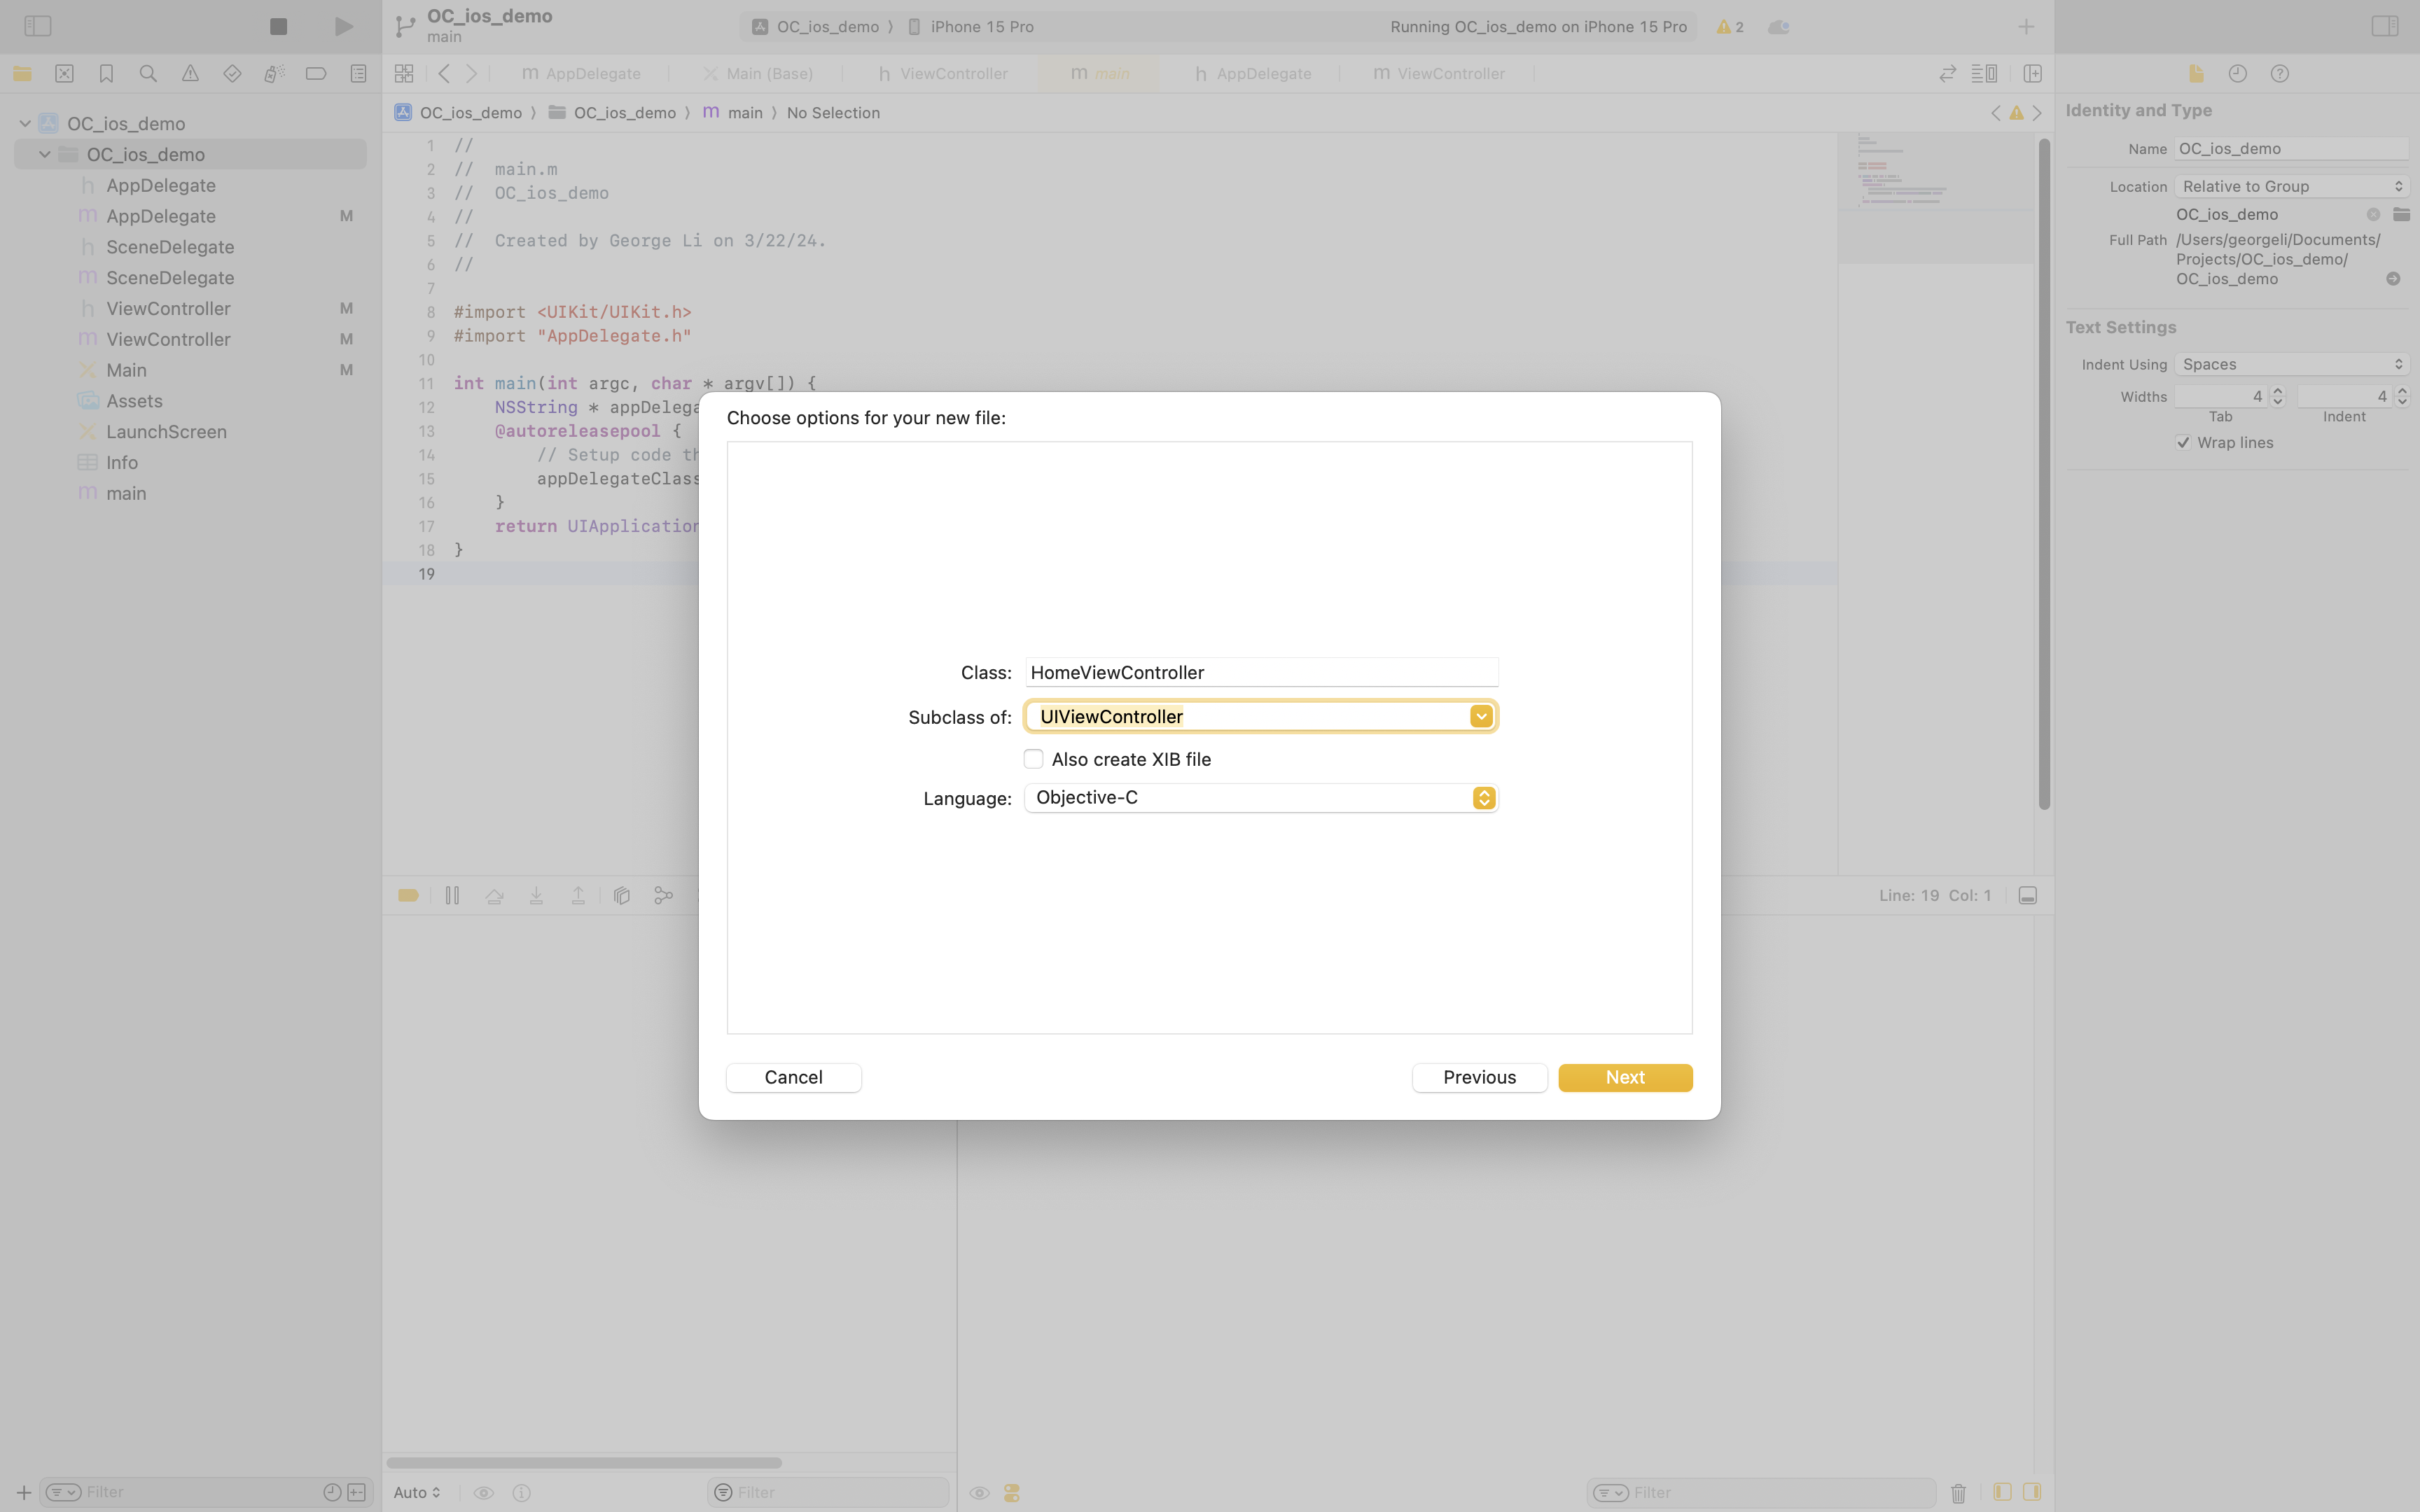 It should create two new files, .h and .m. Like ViewController.h that is generated by default, these new classes will describe new views that we add later.
Bottom Navigation Bar
Most apps have a bottom navigation bar. However, in order to do so, we have to change the interface hierarchy.
We are going to have the Tab Bar Controller be the Root View Controller. In this setup, the UITabBarController is the root view controller of the window, and each tab is managed by a separate UINavigationController. This is the most common approach and allows each tab to have its own navigation stack, enabling drill-down interfaces within tabs.
UIWindow
 └── UITabBarController
      ├── UINavigationController (Tab 1)
      │     └── UIViewController
      ├── UINavigationController (Tab 2)
      │     └── UIViewController
      └── ... (more tabs as needed)
In order to do so, we should click our original navigational controller and then click Editor > Embed In > Tab Bar Controller. Remember after to set the Tab Controller View as the “Initial View Controller”. We get the image below. Notice how now the root is the hiearchy is ⇒ Tab Bar Controller → Navigation Controller → TableView.
TODO Skips a step but…
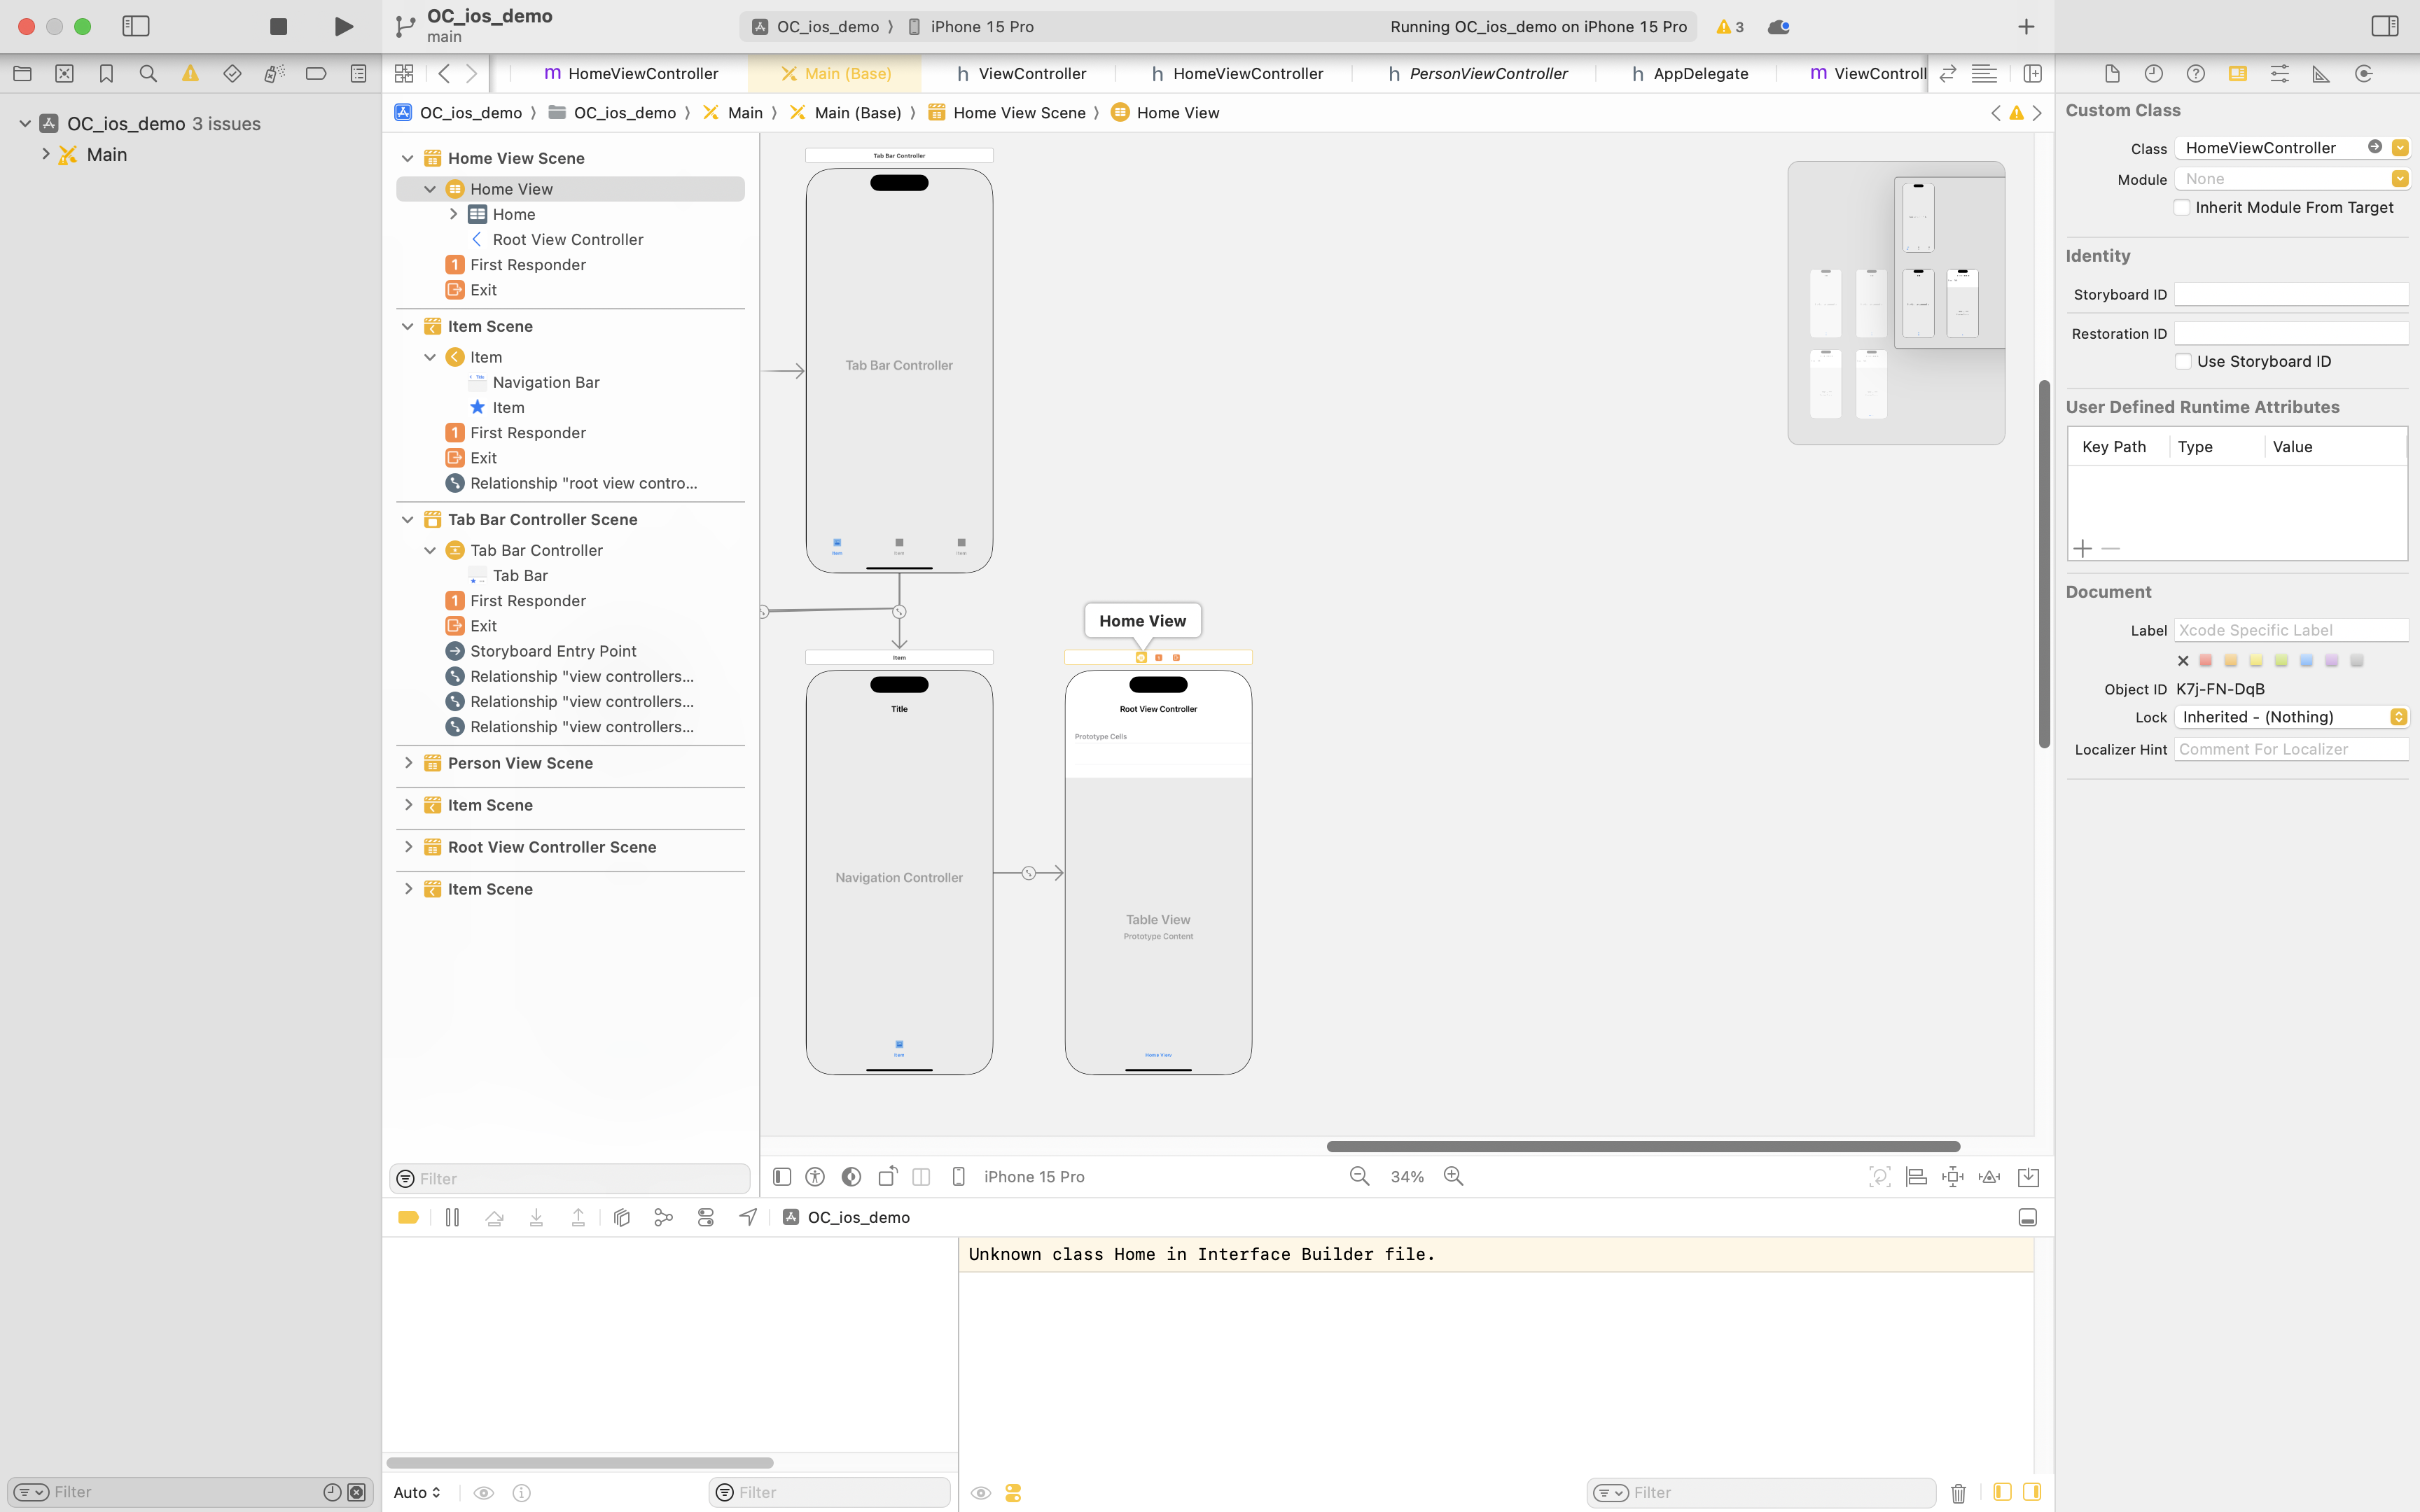
In order to add more tabs. Create more Navigation Controllers, click ctrl and drag to the new Navigation, a pop up should occur, press “view controllers” which should create a new relationship.
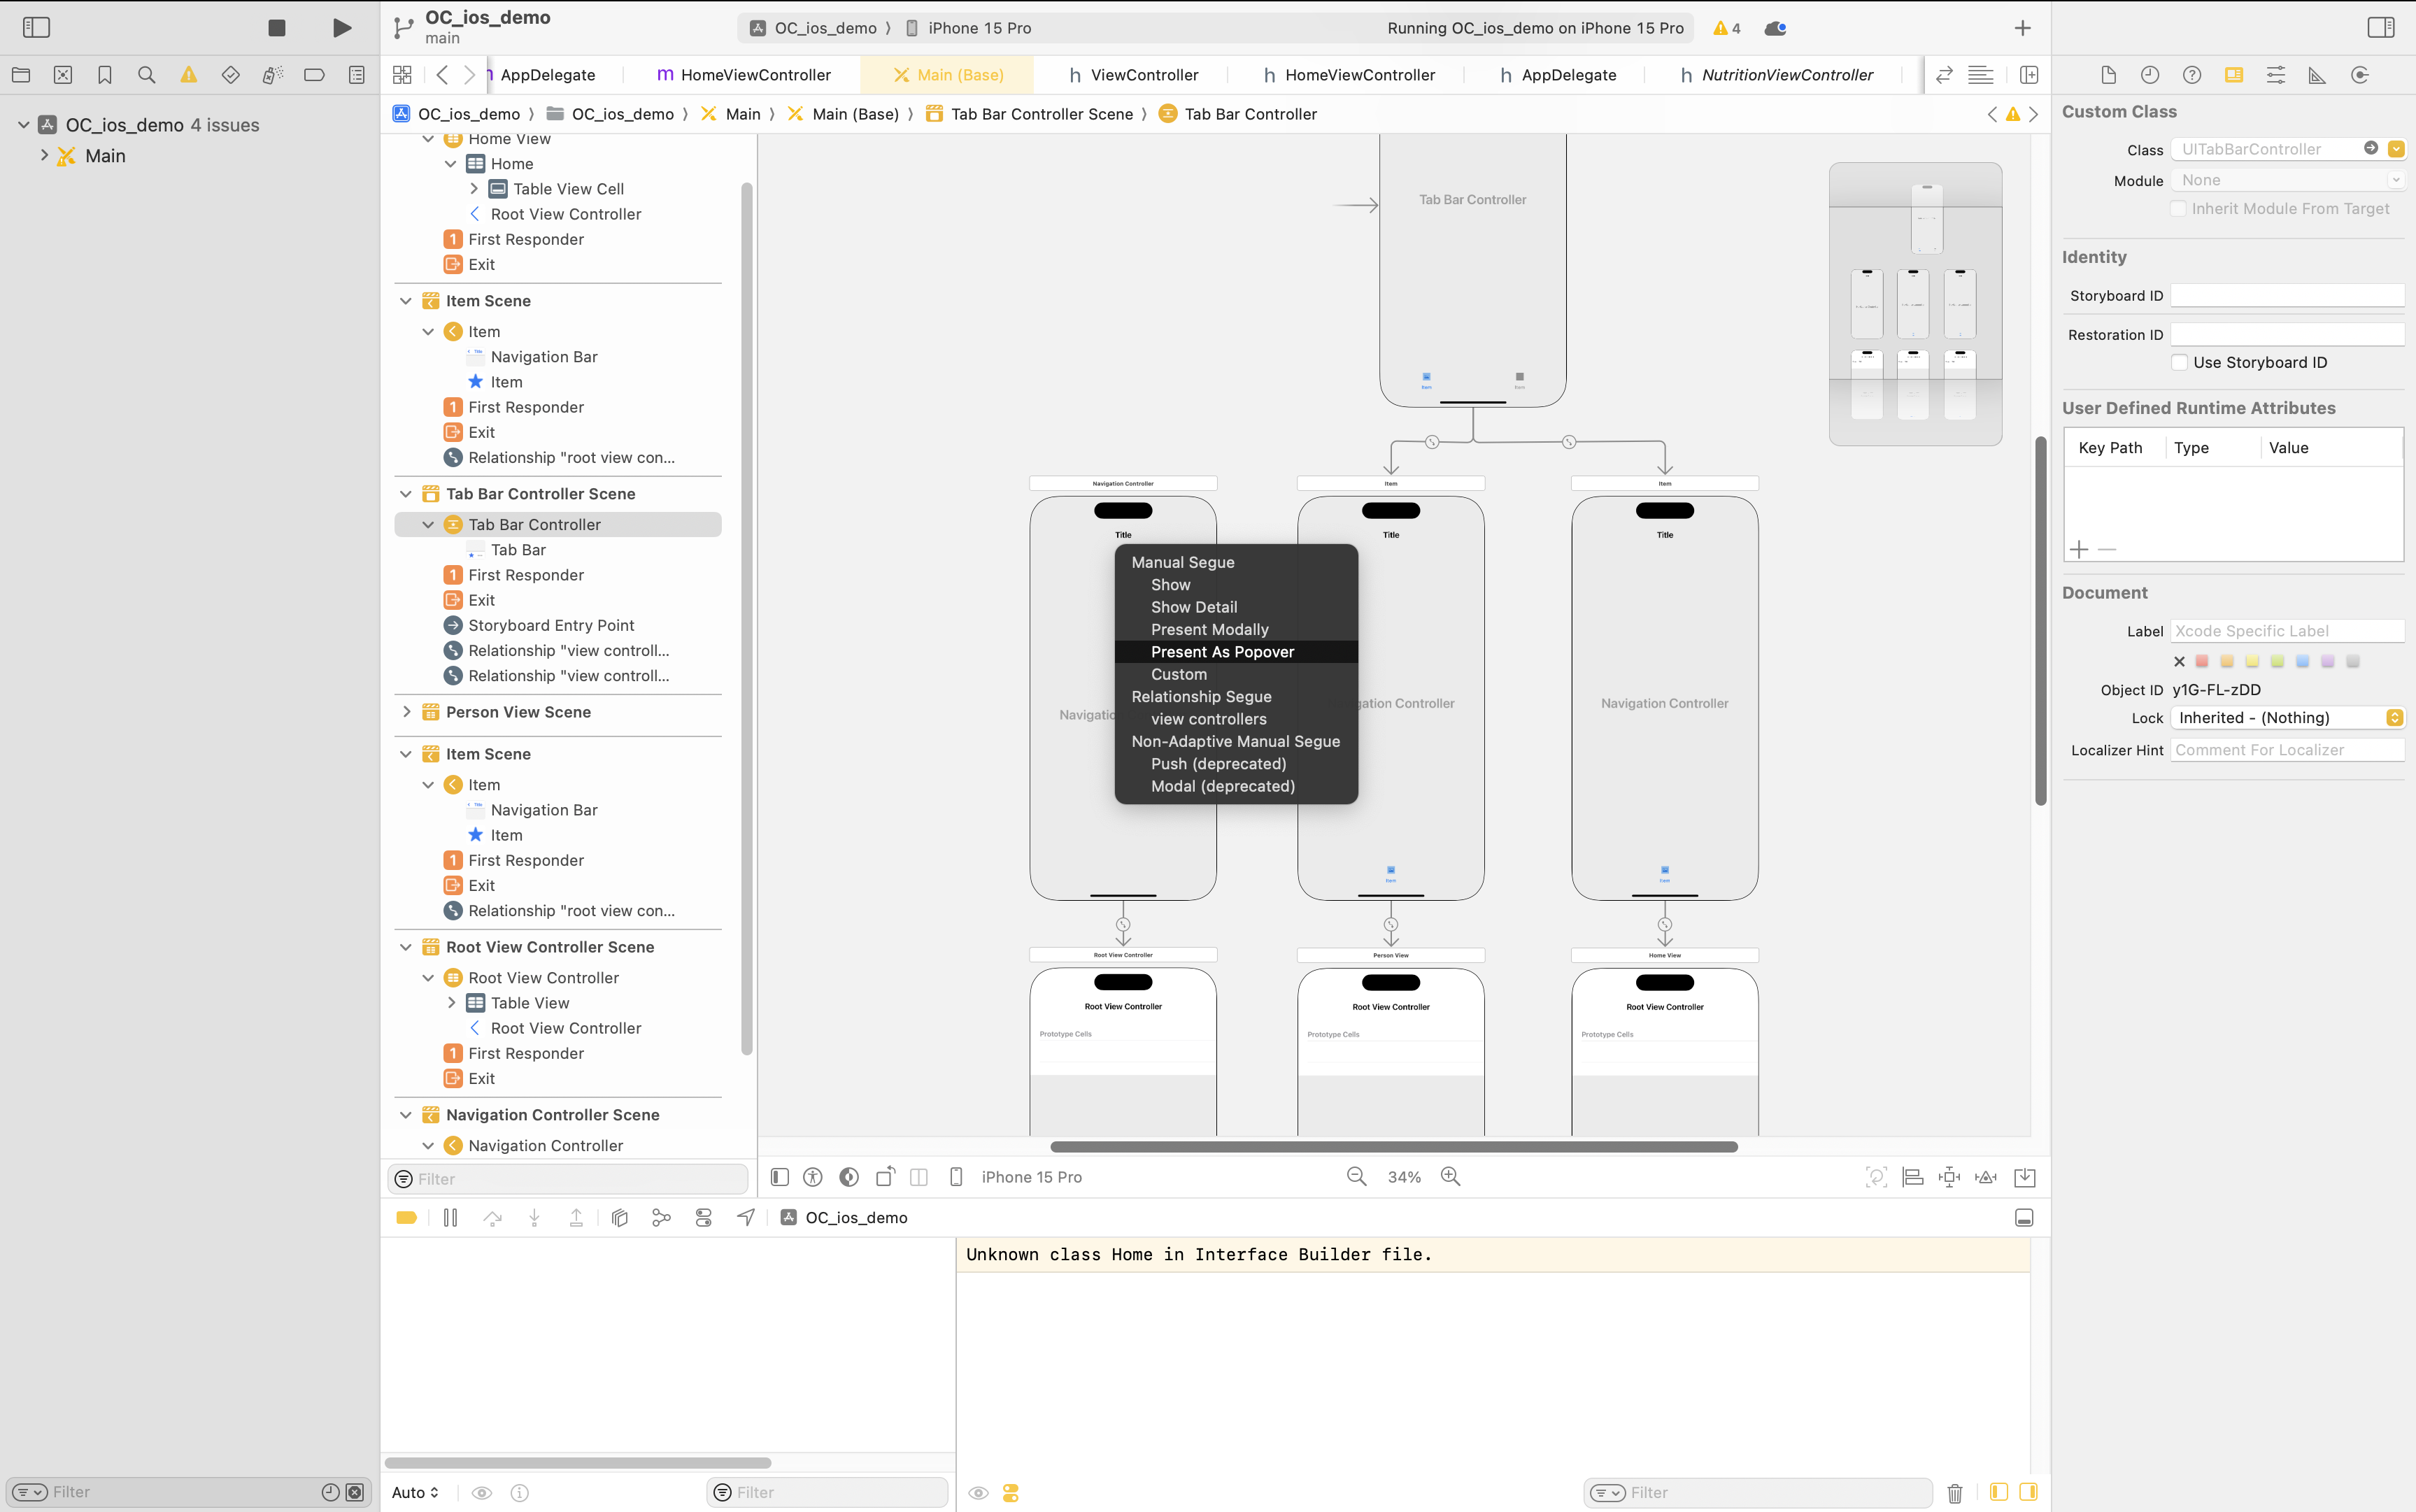
The arrows symbolize a relationship has formed.
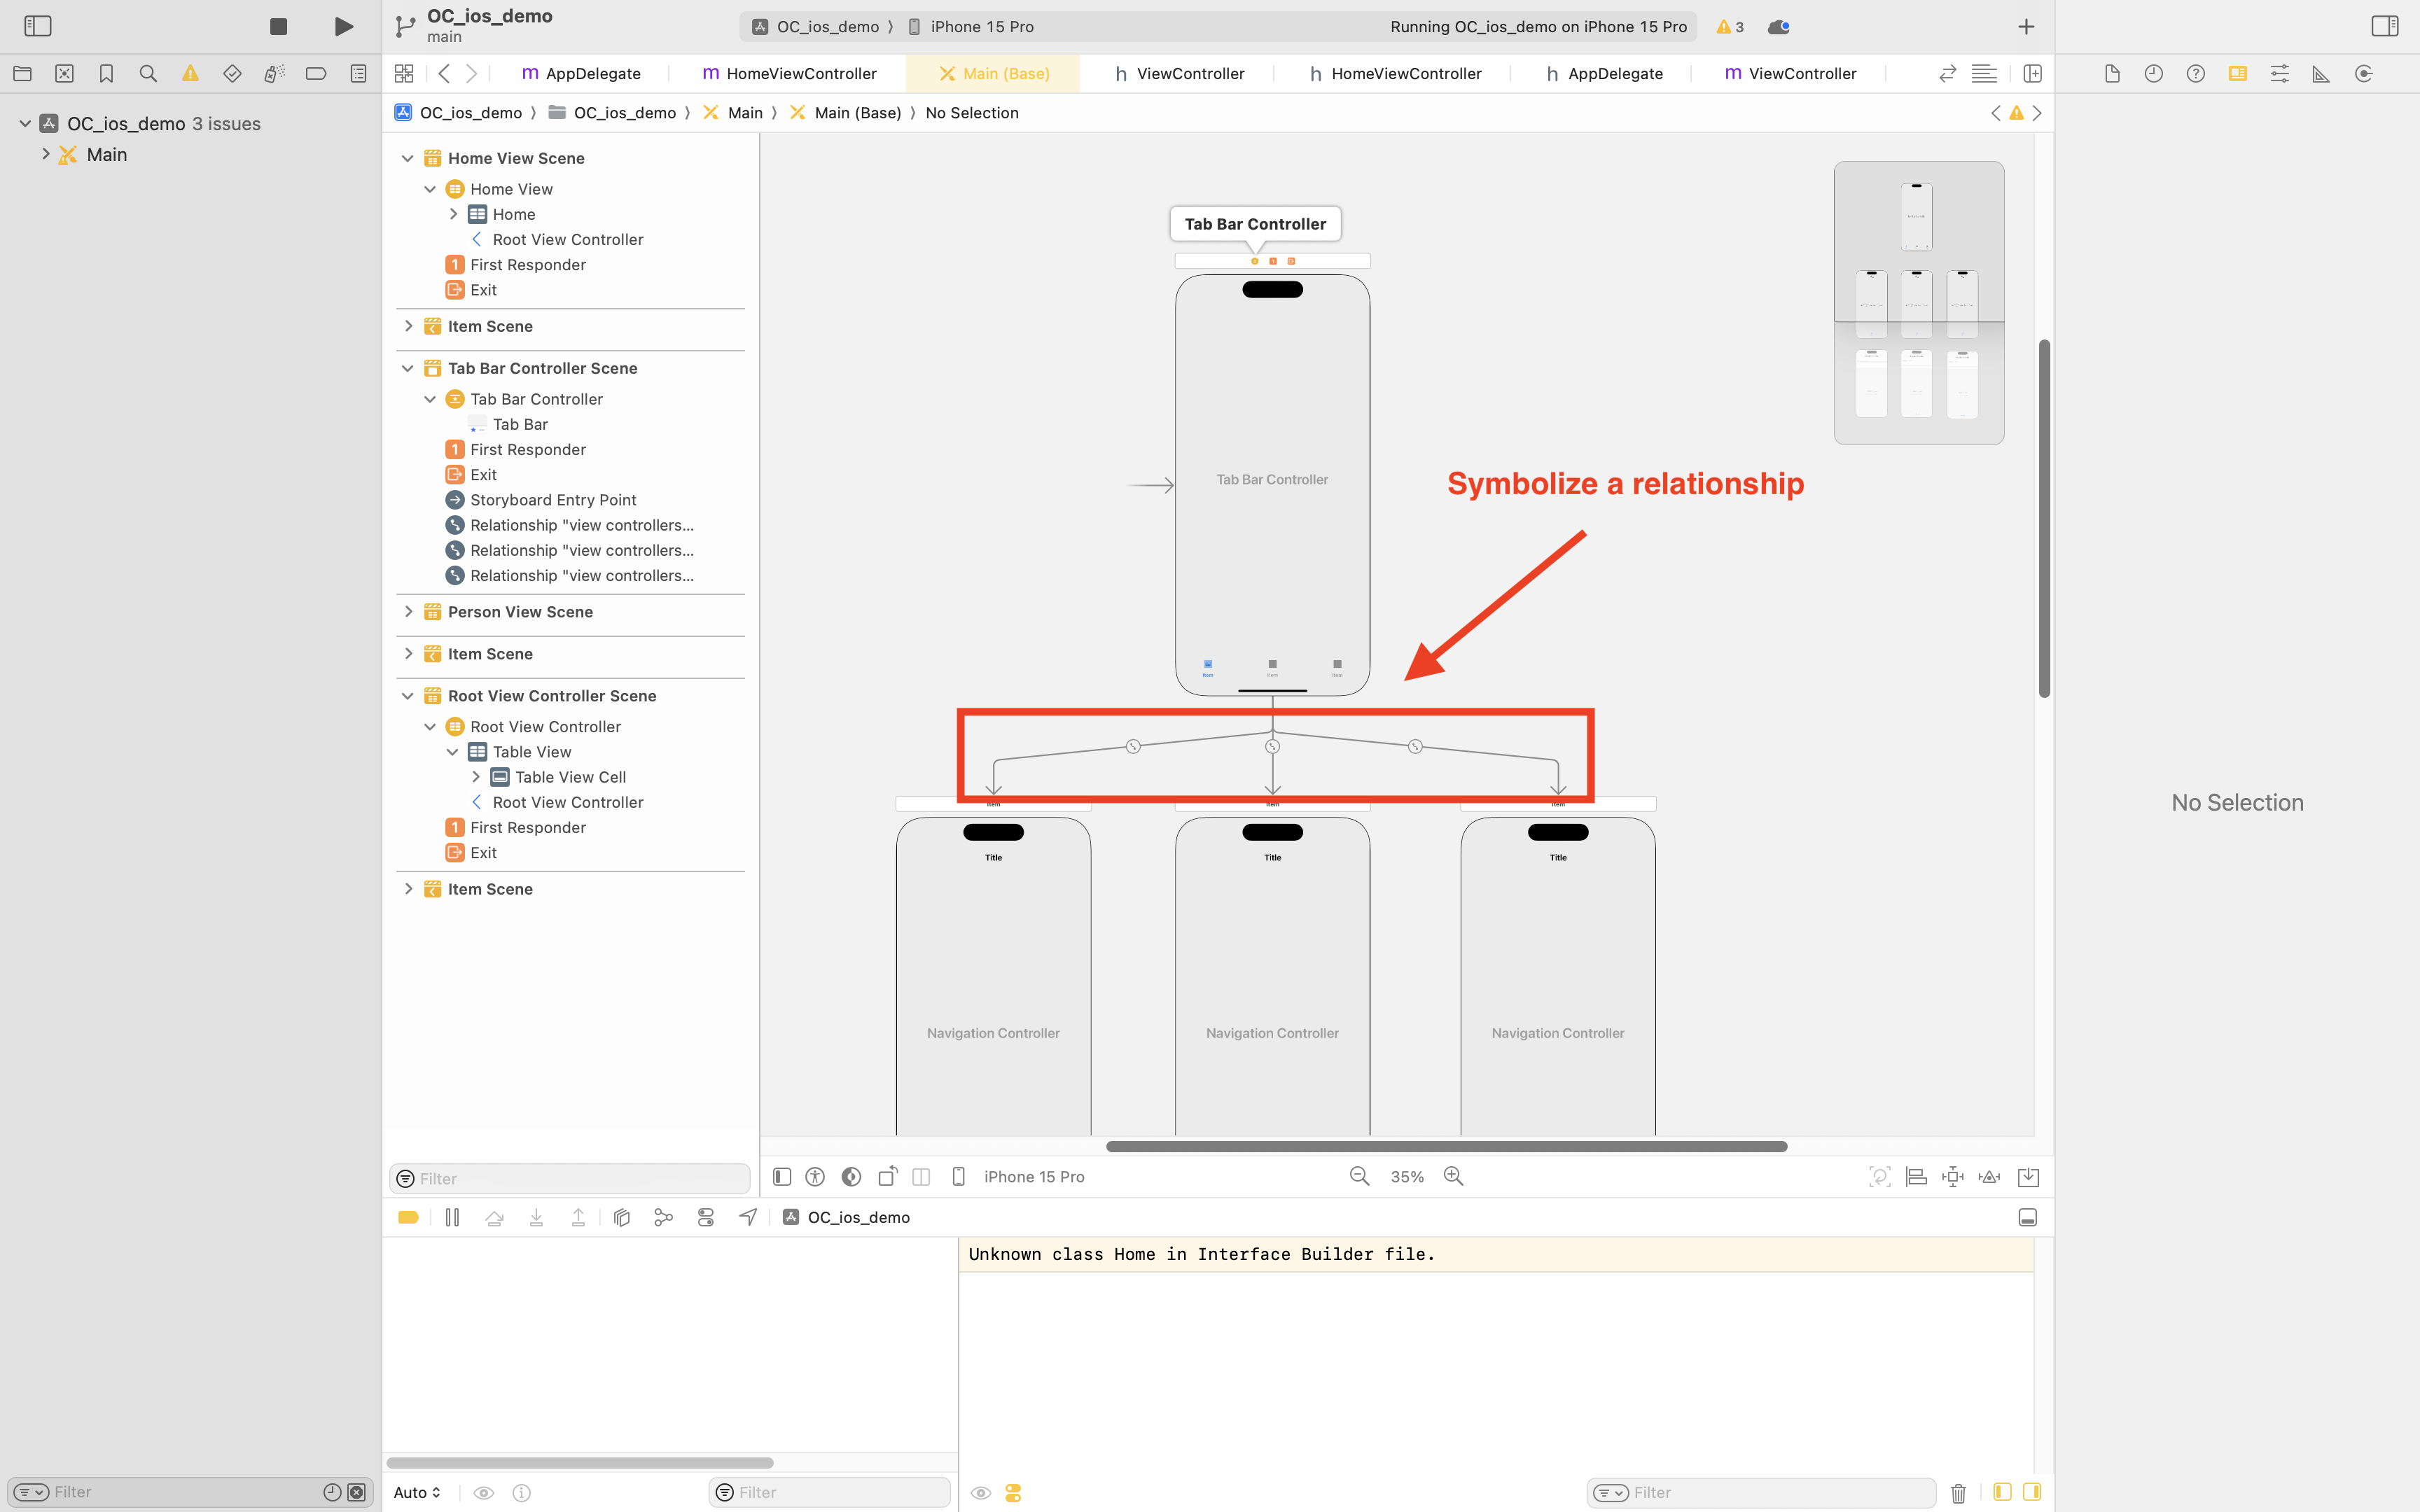
Also, don’t forget to set the Custom Class attribute in the Storyboard interface to the Custom Views that you have created.
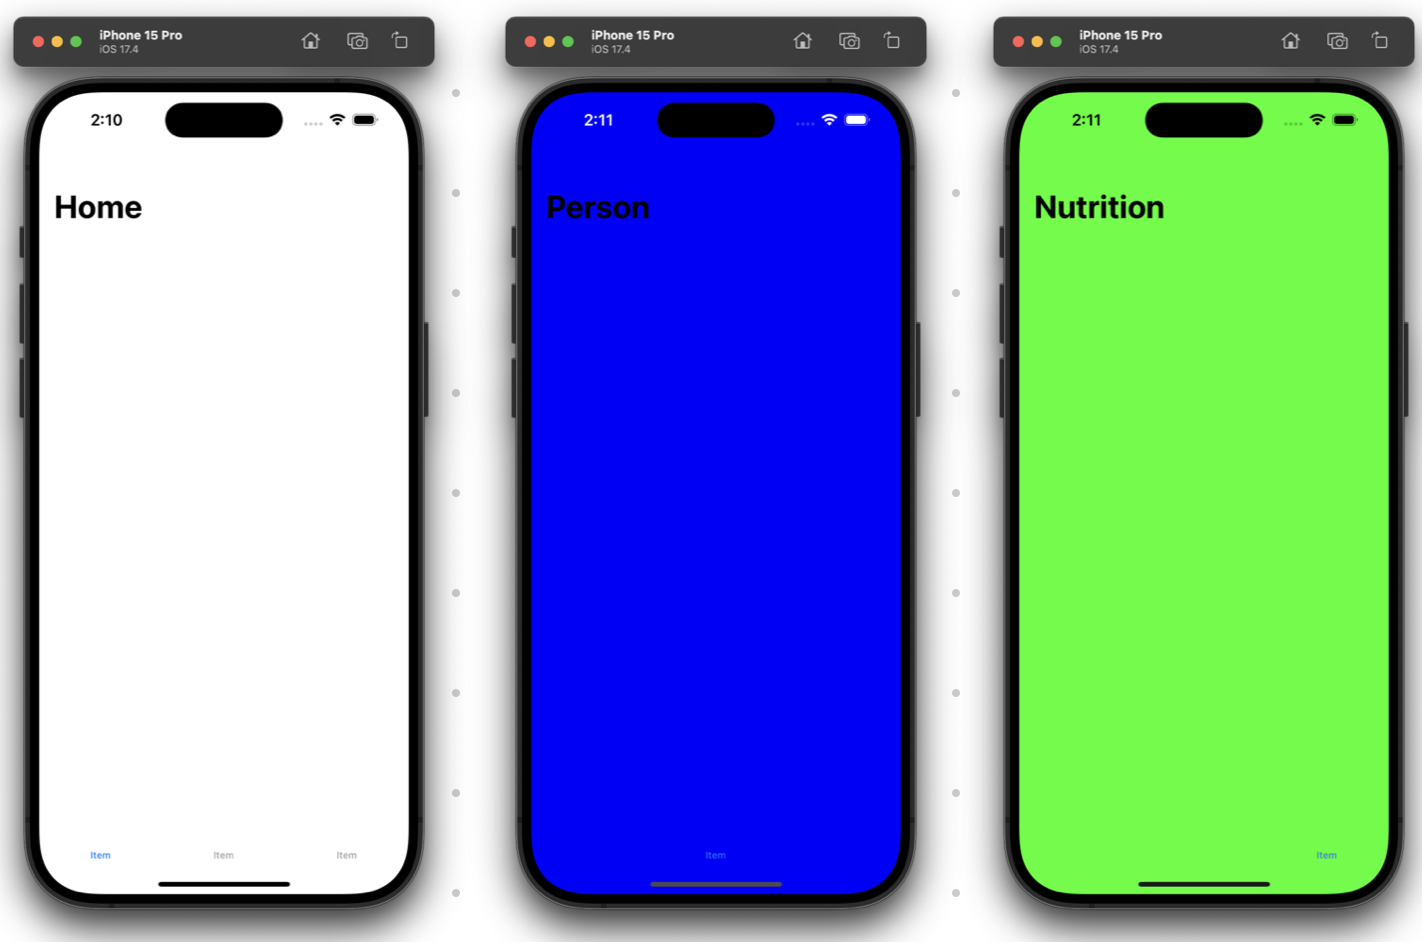
We added some background colors to show difference between the pages.
Best Practices
- Consistency in Tab Usage: Each tab should represent a distinct navigational branch of your app. Avoid changing the tab bar items dynamically as it can confuse users.
- Maintain State Independently: Each tab’s navigation stack should manage its state independently from the other tabs. Switching between tabs should not affect the navigation state of the other tabs.
- Avoid Nested Tab Bars: While you can technically nest tab bars within tabs, it’s strongly discouraged because it creates a confusing user experience.